To grow garlic bulbs indoors: Fill an 8-10 inch tall container with soilless potting mix. Bury the garlic cloves 2-3 inches deep, spaced 4 inches apart. Keep the soil moist, and your garlic bulbs will be ready in 8-10 months. If you can’t wait that long, you can harvest the greens in a few weeks.
Contents
Want An Endless Supply Of Garlic?
Garlic can make such a difference in so many recipes, and it smells so fragrant when it sizzles in a pan. Learning how to grow garlic indoors lets you enjoy a fresh, on-hand supply of this delicious ingredient, year-round.
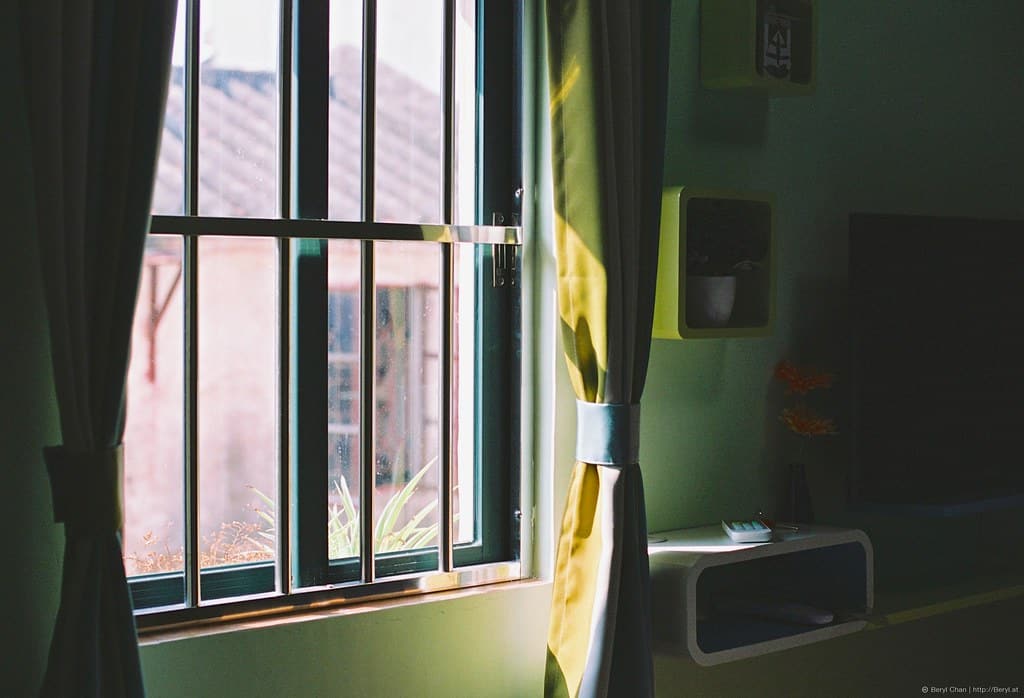
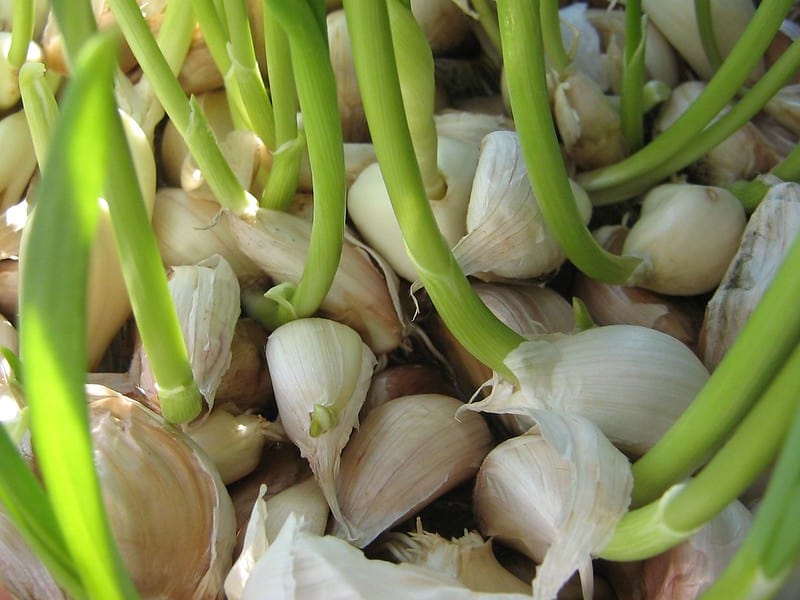
Wouldn’t you love to just walk over to a window and harvest fresh garlic bulbs like these? Keep reading to learn how to make that dream a reality!
Here’s How To Grow Garlic Indoors
Who doesn’t love garlic in their pasta, bread, and most savory dishes? It’s such a versatile ingredient with a flavor like no other.
And garlic isn’t just delicious — it’s a superfood! A 12-week study found that compared to a placebo group, a daily dose of garlic reduced the number of colds caught by 63 percent!
And for those who caught a cold, their symptoms lasted only 1.5 days compared to 5 days for the control group.
Besides boosting your immune system, garlic can also lower blood pressure, improve cholesterol, preserve brain health, and remove heavy metals from your body.
This isn’t even to mention all the benefits of gardening indoors, which you can read about here.
If you want to reap the amazing benefits of garlic without hitting the grocery store, keep reading to learn two easy methods for growing garlic indoors.
How To Grow Garlic Indoors In Soil
You will need:
- Soilless potting mix
- An 8-10 inch (20-25 centimeters) deep container with drainage holes
- A sunlit space or grow light
- Garlic cloves
Steps
Here are the steps on how you can grow garlic indoors using soil:
- Make Sure You Have A Good Light Source

Before you do anything else, make sure you have an indoor area that gets at least 6-8 hours of sunlight a day. South-facing windows are the best choice, followed by west-facing windows.
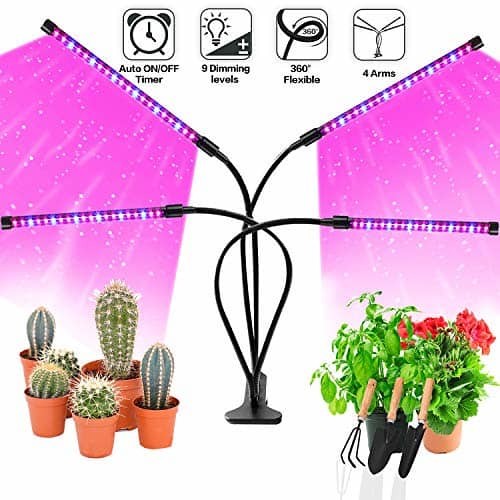
If you don’t have a good window, you’ll need a grow light. The type matters! Though both LED and fluorescent grow lights produce the full spectrum light that plants need, LED grow lights are a better investment.
Though they cost more initially, LED grow lights pay for themselves by using half as much electricity and lasting five times longer than fluorescent grow lights. They’re also safer because they emit less heat and don’t contain mercury.
It’s also important to consider that garlic can grow to 24 inches (61 centimeters) tall and that LED grow lights should be spaced 6 inches (15.25 centimeters) above them. Get a grow light that’s either tall enough to meet these requirements or hangs from the ceiling. - Choose The Right Container

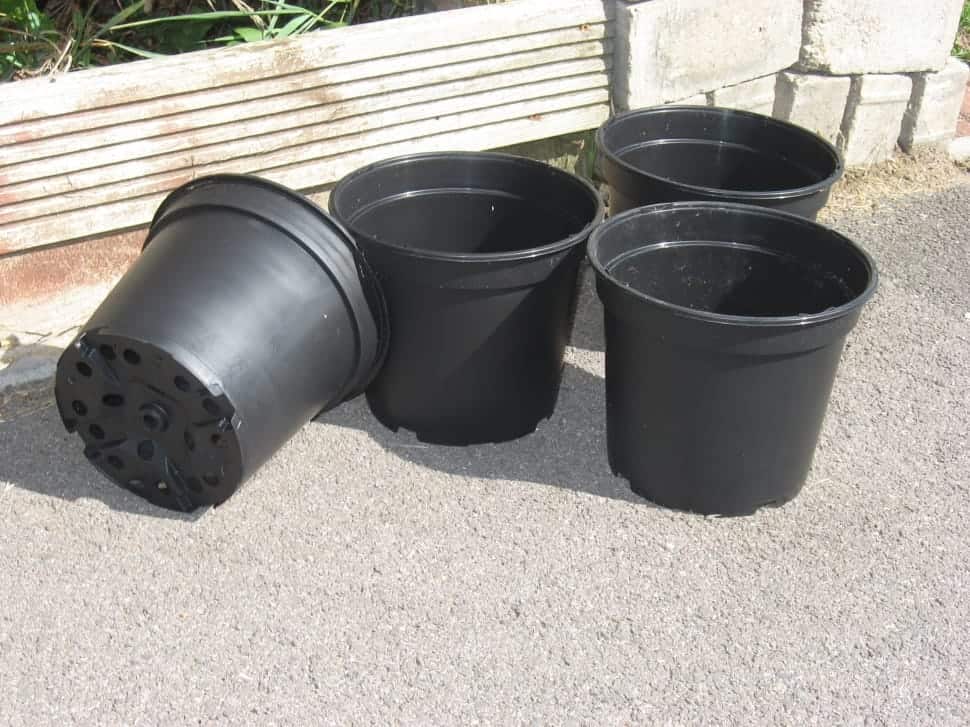
The right container for growing garlic indoors is at least 8-10 inches (20-25 centimeters) deep and has drainage holes. The best container width depends on how many garlic plants you intend to grow — there should be 4 inches (10 centimeters) between cloves.
Of course, you’ll also need a tray under your container to collect drainage water. Although this isn’t completely necessary, it helps to put pebbles between the tray and pot so the drainage holes won’t be blocked and the water can have more space to fill.
*Want to go all-out with your container? The Garden Tower 2 is a vertical gardening system with a built-in composting core. It allows you to grow 50 plants in only four square feet (.37 square meters) of space! Click here to read my review on it. - Buy Or Make A Soilless Potting Mixture

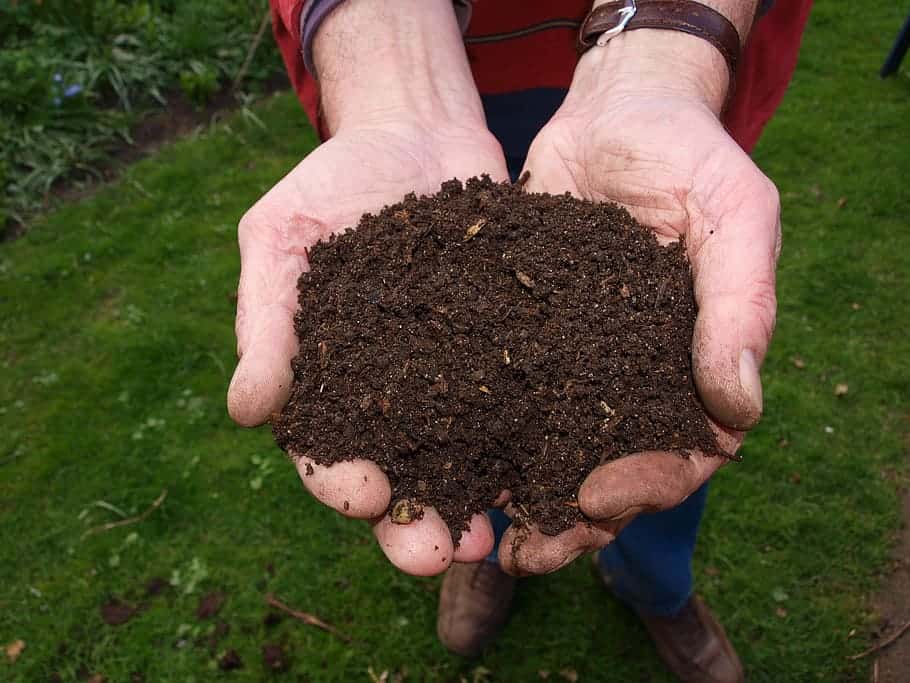
Whenever you grow plants in containers, it’s crucial for the soil to be well-draining and soft enough for roots to easily grow through. You can buy potting mix, or you can make your own by mixing equal parts of peat moss, compost/manure, and perlite/vermiculite/sand.
If you want to, you can also add a time-released 10-10-10 fertilizer to give your cloves a head start.
It’s a bad idea to use garden soil in a pot. Garden soil works fine in your yard because it isn’t surrounded by impermeable material, like a plastic pot. Excess water can seep into the ground, worms can condition the soil, and the soil can build a delicate structure over time.
Garden soil tends to be heavy, compact easily, and not drain as well as potting mix. As a result, it can choke or drown the roots of potted plants. - Buy Some Garlic Cloves

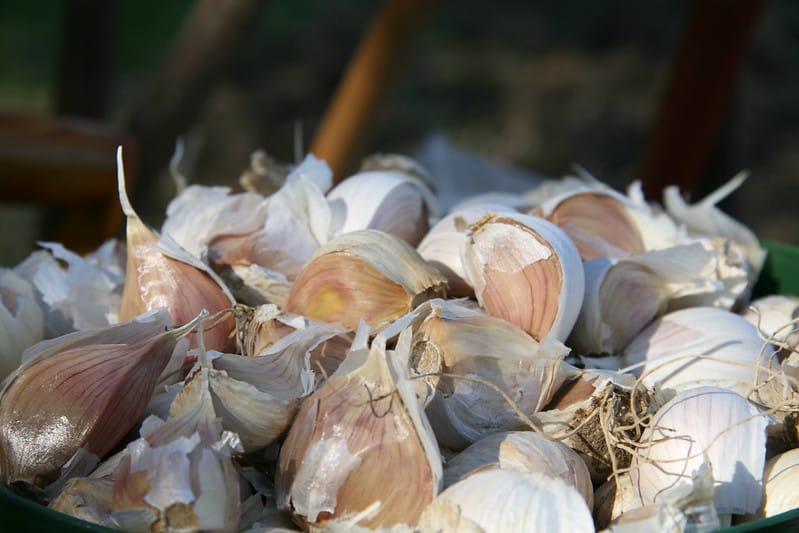
Many sources say you shouldn’t grow garlic from grocery store cloves. Others say that although seed stock cloves tend to be of higher quality, you can grow the grocery kind. The choice is up to you:
Choosing Garlic From Grocery Stores
Choose organically grown bulbs that are plump and blemish-free. Non-organic garlic is treated to prevent it from sprouting. As a result, you’re unlikely to get new plants from non-organic cloves.
Choosing Garlic From Seed Stock
You’re less likely to buy diseased or defective garlic if you get it from a reputable seller.
Grow A Good Life recommends High Mowing Seeds and Fedco Seeds, although there are plenty of other options.
Seed garlic tends to be more expensive than the grocery kind. To get more bang for your buck, choose a variety you think you’ll like. Storey.com provides a list of fun varieties. - Plant The Cloves

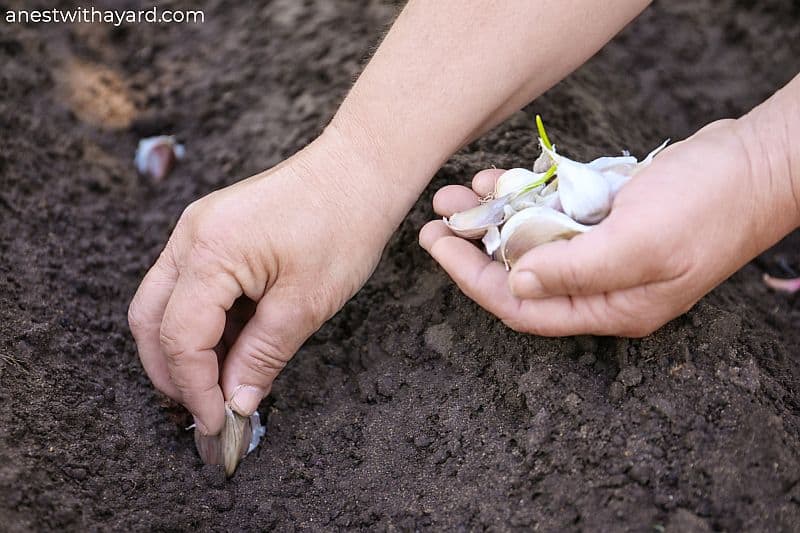
To prevent them from drying out, it’s important to plant your cloves no more than two days after separating them from their bulbs. Also, the flat side of each clove should face downward in the potting mix so it can root properly.
Bury each clove about 2-3 inches (5-7.6 centimeters) deep into the soil, making sure there’s about an inch (2.5 centimeters) of soil between the clove’s tip and the soil’s surface. - Keep The Soil Moist

How often the soil needs water will depend on factors such as what it’s made of and how hot it gets.
If your pot has good drainage, you probably won’t have to worry about overwatering. But if you want to know for sure when your soil needs water, TheFicusWrangler explains how to do a touch test (see video below)
Basically, she recommends scooping up a spoonful of soil and pinching it between your fingers. If your soil is soft, cool to the touch, sticks together just a little when you squeeze it, and no water comes out, it’s ready to be watered.
If the soil sticks together very well and water seeps out of it, it already has enough water.
If the soil feels scratchy, warm or room temperature, and doesn’t stick together at all, water it immediately! - Fertilize Regularly (Optional)

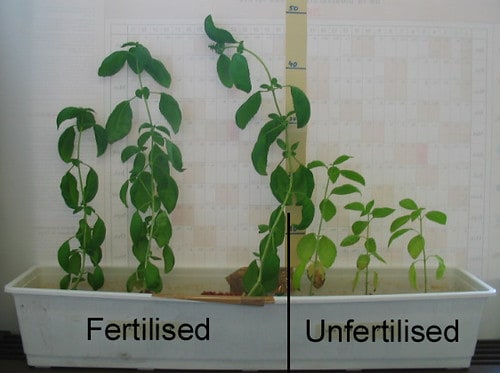
image credit: flickr.com/photos/gtzecosan
If your potting mix is nutritious enough, your garlic may not need fertilizer. However, using a fertilizer can make your garlic grow faster and lead to a better harvest.
Fertilize your garlic plants by spreading a general-purpose fertilizer evenly throughout the soil, no more than twice a month. - Harvest Your Garlic
When you can harvest your garlic depends on which part you are growing it for — the greens or the bulbs?
If you want garlic greens, you should see them starting to appear about a week after you planted the cloves. In a few more weeks, when the greens are 8-10 inches (20-25 centimeters) tall, clip off as much as you need!
If you want garlic bulbs, you’ll have to wait 8-10 months. Your plants’ greens will start to turn brown when their bulbs are ready to harvest. Leave the bulbs out to dry for a week.
Since it takes so long to grow garlic bulbs, I suggest you plant your cloves in a staggered fashion. If you plant some new ones each month, you’ll eventually be able to harvest new bulbs each month.

Keeping The Soil Moist Video Guide
Here, TheFicusWrangler teaches how to do a touch test:

How To Grow Garlic Indoors In Water
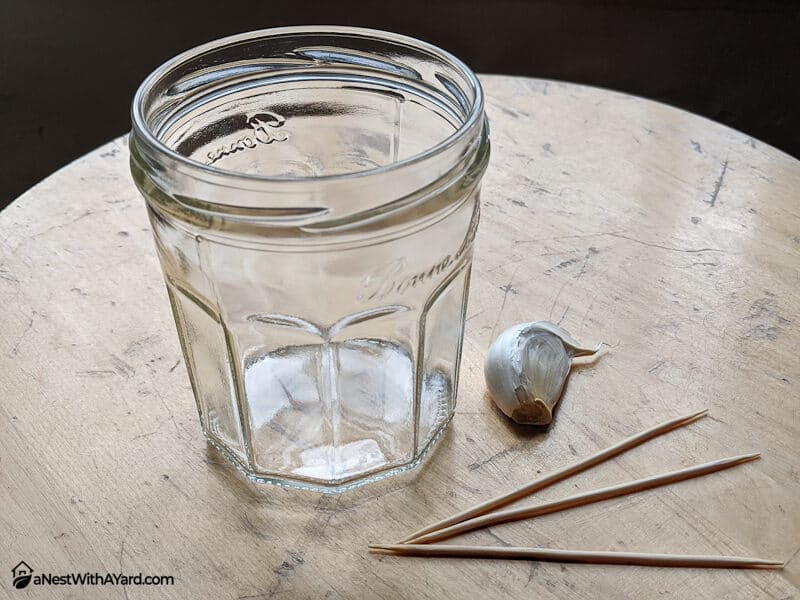
You will need:
- Garlic cloves
- A transparent glass (or jar) for each clove
- Water
- Three toothpicks per clove
- A sunny window or a grow light
Steps
Before you use this method for growing garlic indoors, you should know that it’s only good for growing the greens. But if greens are what you want, here’s how to grow garlic indoors in water:
- Find A Light Source
Find a window that gets at least 6-8 hours of sunlight a day. 10-12 hours is better, but not necessary.
If you lack a good window, you’ll need a grow light. As I explained before, LED grow lights are better than fluorescent grow lights.
If you happen to have a SAD therapy lamp, you can use it as a grow light, as many glasses will fit directly under it. If the lights cannot stand on their own, you’ll have to find or make something to hold the light in place. Laying it over a wire rack shelf may do the trick.
- Get Some Garlic
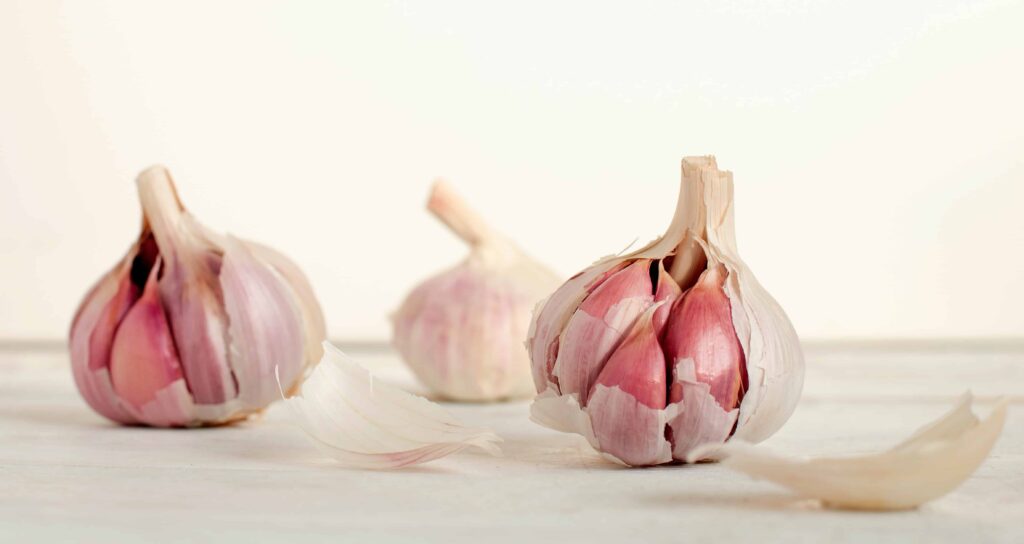
Personally, I’d use organic grocery store garlic for this method because it’s just for the short-term. You’re just going to harvest some greens and throw the cloves away.
- Place Each Garlic Clove In An Empty Glass
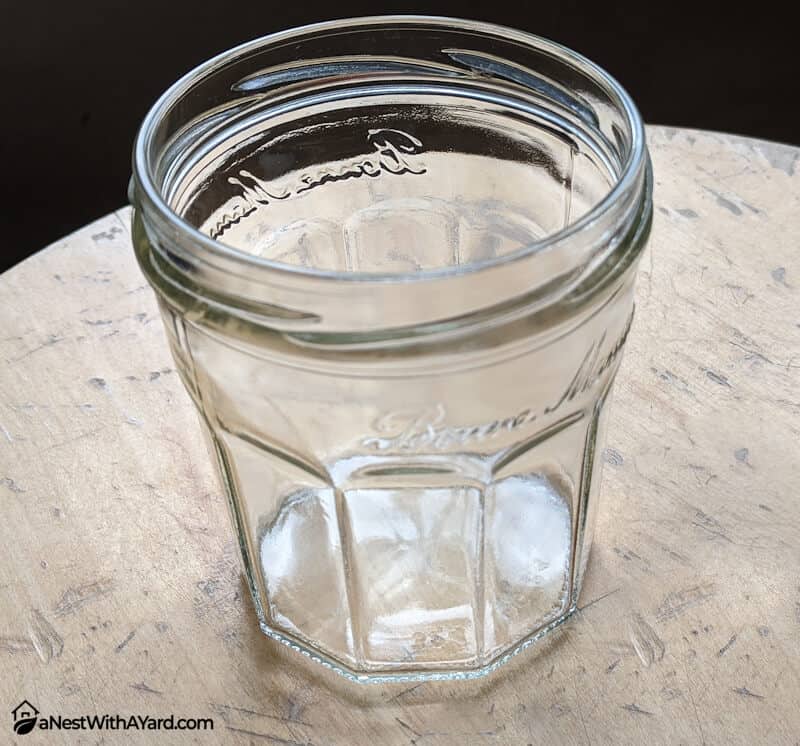
Any transparent glass will do. Garden.eco recommends using a shot glass, perhaps to keep each clove in the best position.
The flat end of the clove should face downwards. To keep it in this position, slightly insert three toothpicks into the sides of the clove’s upper half and balance them both on the rim of the glass.
- Add Water

Add just enough water to each glass so that it covers the clove halfway.
- Change The Water Daily
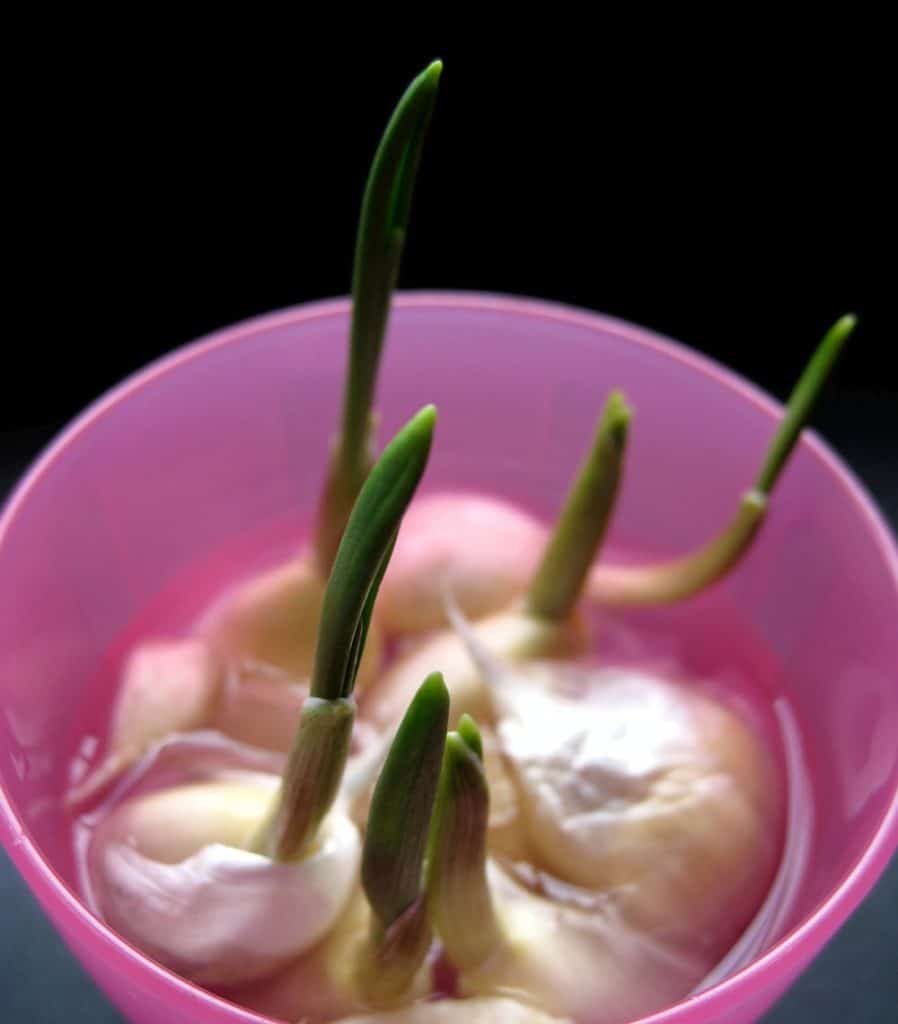
Warm, sitting water is an ideal breeding ground for microbes that could make your garlic rot. Change the water daily to keep it clean. Eventually, each clove will sprout shoots.
- Harvest Your Garlic Greens
When the shoots are 3-7 inches (7.6-17.8 centimeters) tall, they’re ready to harvest. Toss out the cloves when you’re done.
Need some serving suggestions? Garlic greens make a delicious addition to baked potatoes, pasta, salads, and soups.
How To Take Care Of A Garlic Plant Indoors
Garlic is one of the easiest crops to grow, so you probably won’t have to do much for yours. It’s naturally pest-resistant, and growing it indoors makes it even more so.
However, a pest problem can happen. Also, some garlic varieties require pruning, and all garlic should be cured and stored properly.
Common Garlic Pests
Though garlic naturally repels pests, such as aphids, there are some bugs that love it. Here is a couple to be aware of:
Bulb Mites
Bulb mites are called as such because they primarily target bulb crops, such as lilies, tulips, and garlic. All species of bulb mites are tiny — Dry bulb mites (Aceria tulipae), which are especially likely to target garlic, are usually smaller than 0.3 millimeters long.
Bulb mites are tough to get rid of, and they’ll continue damaging garlic long after it’s been harvested. While the garlic is still growing in the soil, bulb mites tend to feast on its roots and underside.
Infested plants may show stunted growth and deformed leaves. But in storage, the mites go after the bulb, causing sunken, brown areas that invite soft rot bacteria and fungi.
The best approach towards bulb mites is prevention, and that means starting with clean cloves. If you don’t want to risk bringing bulb mites into your house, buy seed garlic from a reputable seller.
Nematodes
In general, nematodes are microscopic, worm-like creatures that live in the soil. Most of them are harmless to plants, but some are a gardener’s worst nightmare. Like little vampires, plant-parasitic nematodes puncture a plant’s cells to feed on their contents.
There are different kinds of nematodes that attack garlic. Stem and bulb nematodes prefer to live throughout it, whereas root-knot and lesion nematodes prefer to live in a garlic plant’s roots. Stubby root nematodes also eat garlic roots but prefer to stay in the soil.
The stem and bulb variety is also known as the “bloat” nematode because it causes swollen and distorted plant parts.
This especially devastating variety can turn your garlic plant’s leaves yellow and make its bulb a soft, decaying smorgasbord for fungi, bacteria, and other uninvited guests. Nematodes will continue attacking your garlic, even after you harvest it.
Fortunately, if nematodes only get into your pot, you can discard the soil and start over. But whatever you do, don’t put anything infected with nematodes in your yard. They will move into your soil and become difficult to get rid of, as Garden Fundamentals explains:

The best you can do to prevent a nematode infestation is to buy seed garlic from a reputable seller. According to the video, you should look for some that are certified nematode free.
Garlic Diseases
Starting with sterile potting mix, buying disease-free bulbs, and growing garlic indoors should be enough to prevent diseases, but exceptions happen. Here are some common garlic diseases and what you can do about them:
Basal Rot
Basal rot tends to progress slowly. The infected plant’s leaves turn yellow and die prematurely. You may or may not be able to see white fungus at the base of your garlic bulb, and roots may be dark brown or dark pink.
Basal rot causes garlic bulbs to rot both before and after they’re harvested. If you’re lucky, it may spare some cloves in a bulb.
The fungus that causes basal rot (Fusarium culmorum) can live in soil indefinitely, so it’s crucial to start with a sterile potting mix. You can prevent basal rot from happening in storage by curing your bulbs properly, which I’ll explain how to do later in this section.
White-Rot
The symptoms of white-rot closely resemble those of basal rot, although white-rot progresses more rapidly. An early sign of white rot is white, fluffy fungus on your garlic plant’s stem and bulb. As the bulb decays, you’ll see small, dark areas of fungus called sclerotia.
There’s little you can do to stop a white rot infection. At least you can prevent it by buying seed garlic from a reputable seller.
Downy Mildew
With downy mildew, a likely first symptom is a white, fuzzy fungus on your plant’s yellowing leaves.
Downy mildew can stunt the growth of well-established plants and kill younger ones. Harvested bulbs may look shriveled and sprout prematurely. They may also show dark discoloration on their necks.
After using a sterile potting mix and buying seed garlic from a reputable seller, the best thing you can do to prevent downy mildew is to keep the leaves of your garlic plants dry. You can do this by watering them close to the soil and not planting them too close together.
If you see signs of downy mildew on your garlic plants, thoroughly spray their leaves with fungicide in a well-ventilated area.
Botrytis Rot
Also called “neck rot,” botrytis rot usually becomes noticeable when garlic is close to maturity or in storage. Plants may be stunted, be covered in fuzzy gray fungus, and have dying outer leaves. Affected areas start out water-soaked but eventually dry out and decay.
There are ways to prevent botrytis rot or control its damage. Avoid applying too much nitrogen fertilizer to a garlic plant, as excess nitrogen makes this disease more likely. Harvest your garlic only when it’s mature, and be sure to cure it properly.
Penicillium Decay
This fungal disease doesn’t survive for long in soil, so its primary means of transmission is through infected cloves.
Although penicillium decay may stunt a garlic plant’s growth and yellow its leaves, it’s better known for ruining cloves in storage. An infected clove may display fuzzy white or blue fungal growth and premature decaying.
It’s possible for only some of the cloves in a bulb to have penicillium decay. But when you open the bulb, spores will fly over to the clean cloves. If they have any wounds, they are likely to become infected.
Therefore, you should separate cloves as gently as possible and plant them as soon as possible to prevent transmission.
Pruning Hardneck Garlic
There are two main types of garlic: softneck and hardneck. Which type you choose is a matter of personal preference. Hardneck garlic is said to have a richer and more complex flavor, whereas softneck garlic is said to taste more ordinary.
However, softneck garlic tends to mature sooner and doesn’t have to be pruned.
Softneck garlic (sometimes called artichoke garlic) produces more, but smaller cloves than hardneck garlic. The larger cloves of hardneck garlic (sometimes called top-setting garlic) grow around a stalk called a scape.
Hardneck garlic requires slightly more care because you should cut off their scapes. Doing so allows them to redirect their energy towards growing bigger bulbs.
A scape is ready to cut off when it starts curling at the top. If it’s young and tender, you can cook and eat it as you would garlic greens.
How To Harvest, Cure, And Store Garlic Bulbs
Harvesting
It’s very important to harvest garlic on time. If you harvest it too early, the cloves will be small and won’t store well. If you harvest it too late, the cloves will burst through their skins and become susceptible to disease and you won’t be able to store them at all.
8 to 10 months after planting, stop watering your plants when their leaves start to dry out. This will begin the curing process by helping the bulbs dry in the soil.
Knowing when to harvest garlic is tricky. According to Seed Savers Exchange, a garlic plant is ready after three-to-four leaves have died and five-to-six remain green. But The Spruce says it’s probably ready when the lower parts of its leaves are brown.
To know for sure that your garlic is safe to harvest, gently dig up two bulbs and slice them in half. In a mature bulb, the cloves fit snugly inside their skins.
To harvest your garlic, don’t try to pull it up by its leaves. Instead, gently dig it out with a hand shovel.
Don’t rinse it off, and don’t remove the leaves or roots! Shake off loose dirt and wipe the rest of the dirt off with a dry towel.
Curing
Leave your garlic to dry for three-to-four weeks in a well-ventilated, dark area (sunlight can affect flavor). When the leaves and roots are dried out, you can safely cut them off.
You can make the bulbs look cleaner by removing their outermost skins, but you still shouldn’t rinse them off.
Storing
If you prefer, you can leave the leaves on softneck garlic to tie it into braids. Just don’t attempt to braid hardneck garlic, as it will break. Besides hanging it, you can also store garlic in loosely woven baskets or mesh bags.
Garlic should be stored in a cool (60-65 F or 15-18 C), dark, and well-ventilated place that isn’t humid or dry. It’s not ideal to store it in a refrigerator, but your fridge’s crisper drawer should protect it from excess humidity.
Garlic that has been refrigerated will sprout if you leave it at room temperature for a few days, which can make it taste bitter.
FAQ About Growing Garlic Indoors
Can You Grow Garlic Indoors?
Growing garlic indoors allows you to enjoy fresh garlic year-round without leaving the house. There are two simple growing methods: growing garlic in potting mix and growing it in a glass of water. Both methods yield greens, but only the pot method yields bulbs.
How Long Does It Take To Grow Garlic?
How long it takes to grow garlic depends on which part you want to harvest. Garlic greens will be ready only a few weeks after planting, but garlic bulbs take 8-10 months to grow. Planting garlic in a staggered fashion will allow you to enjoy several consecutive harvests later on.
How Much Sun Does Garlic Need?
Garlic does best with 10-12 hours of sunlight per day, but 6-8 hours will do. Garlic can mature with only four hours of sunlight per day, but that’s far from ideal. If you don’t have an adequately sunny window, you could always get a grow light.
You Now Know How To Grow Garlic Indoors!
Growing anything indoors is a great way to enjoy time at home during the coronavirus pandemic, but some crops are more useful than others. Knowing how to grow garlic indoors gives you access to a fresh, versatile ingredient year-round.
Not only does garlic taste and smell amazing, but it can boost your immune system, lower your blood pressure, improve your cholesterol, and more. The bulbs may take a while to grow, but planting new cloves each month will give you monthly harvests later on.
I hope my tutorial has inspired you to try something new! Please let me know your thoughts in the comments. If you liked this article, please share it!
If I’ve inspired you to get into indoor gardening, here’s an article on some indoor garden ideas with pictures. If you’re trying to make the most of a tiny yard, you might prefer this article on small garden ideas.
Thank you so much for this in depth tutorial on growing garlic indoors. I recently moved from the country to an apartment and was looking for a way to keep growing garlic.
Can you recommend a trusted seed garlic supplier?
Thanks
Hey Jane,
I am happy that my article was useful for you! As for the garlic supplier, I think you can buy seeds on Amazon. Just read the reviews before 🙂