After rubbing off loose dirt with a dry rag, soak the pot overnight in soapy water. You can soak multiple pots at a time as long as they’re filled with water. The next day, scrub off any loosened dirt with an old toothbrush. Rinse the pot and let it air dry, ideally in sunlight.
Contents
- 1 You Don’t Need Bleach To Reuse Pots
- 2 Step Zero Before Sterilizing Pots Without Bleach: Wash Them
- 3 Here Are 7 Ways To Sterilize Pots Without Bleach
- 4 Soak Them In Vinegar
- 5 Spray The Pots With Vinegar/Hydrogen Peroxide
- 6 Bake Your Pots In The Oven (Clay Pots Only)
- 7 Put The Pots In The Dishwasher (Clay Pots Only)
- 8 Leave Them In The Sun
- 9 Boil The Pots
- 10 Clean Pots With Rubbing Alcohol
- 11 You Now Know How To Sterilize Pots Without Bleach
- 12 About The Author
You Don’t Need Bleach To Reuse Pots
Since diseases can be transferred from one potted plant to its replacement, I recommend sanitizing pots before reusing them. Even though bleach is the most effective plant pot disinfectant, many prefer not to use it because it’s harsh. For this reason, I’ll explain how to sterilize pots without bleach.
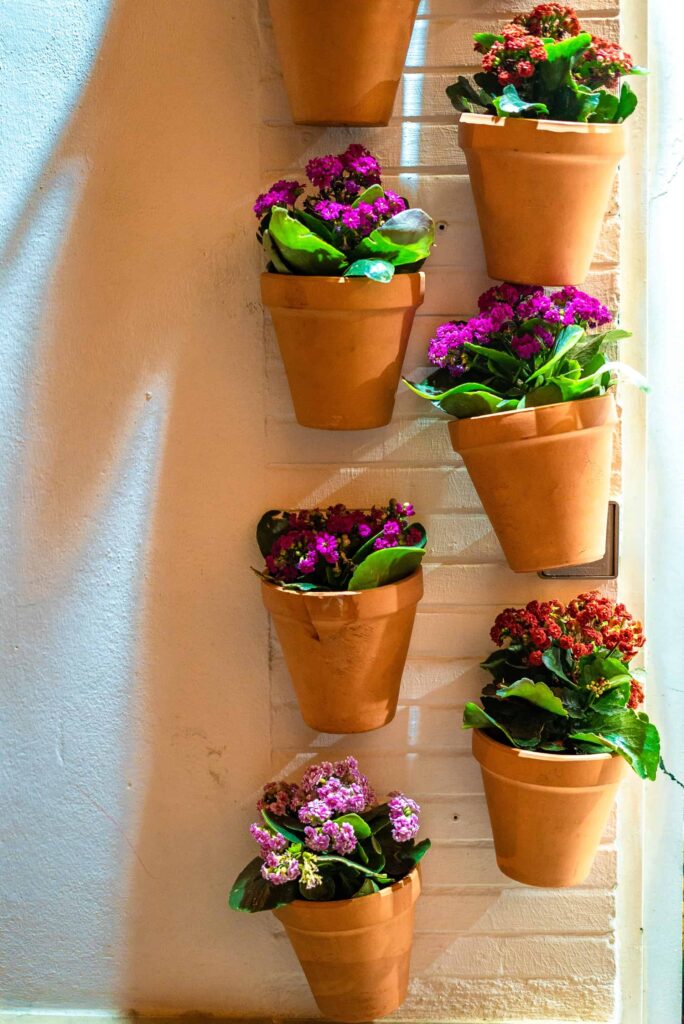
By using any of the gentler methods below, your plants will be as happy as these flowers:
Step Zero Before Sterilizing Pots Without Bleach: Wash Them
Before doing anything else, you should wash your pots with soap and water. It’s best to soak them for a while, so you can remove as much dirt as possible.
You’ll Need
- A large sink or bucket filled with warm water
- Dish soap
- A scrubbing tool
- A dry rag
How To Pre-Wash Pots Steps
Here are the steps on how to pre-wash your pots:
- Remove Loose Soil
After emptying the pot, shake it upside down and gently thump it to make the soil fall out. Use a scrubbing tool, such as an old toothbrush, to loosen as much dirt as possible. Wipe it off with a dry rag.
- Fill A Sink Or Bucket With Warm, Soapy Water
As you fill your sink or bucket with warm water, add dish soap to make a bubble bath.
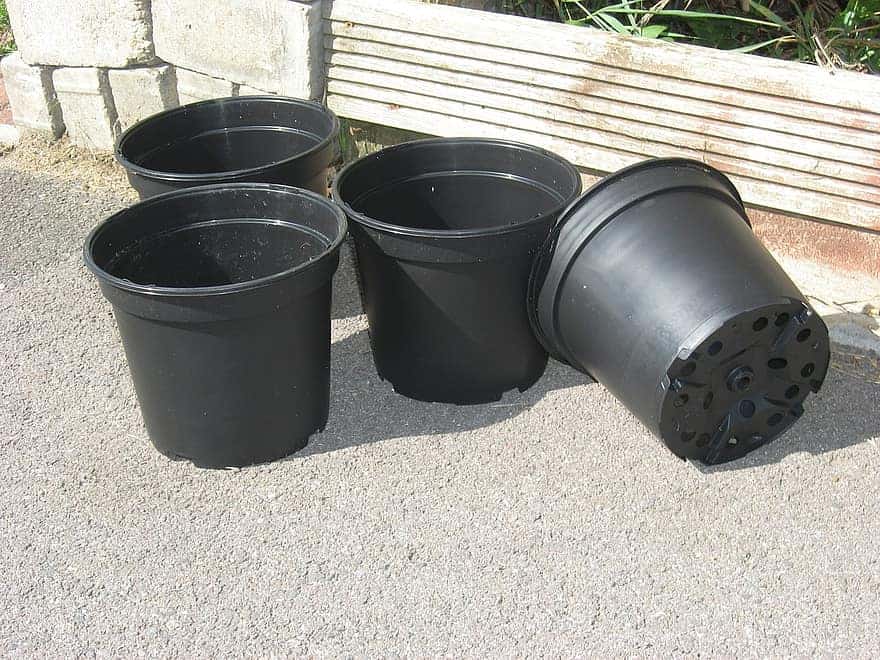
- Add As Many Dirty Pots As Possible
You can soak multiple pots simultaneously with either of two methods:
• One is to submerge and stack pots into each other one by one so they can each fill with water.
• Northwest Edible Life recommends an “accordion method,” whereby you loosely stack a bunch of dry pots together, submerge them, and pump them inwards and outwards about 10-15 times to get them all wet. - Let Them Soak
Let the pots soak for a few hours, ideally overnight.
- Scrub Off Loosened Dirt
After the pots have soaked a while, use your scrubbing tool to remove any loosened dirt.
- Rinse The Pots
Thoroughly rinse each pot so that no soap residue remains. This step is especially important if your soap can harm plants in any way.
Here Are 7 Ways To Sterilize Pots Without Bleach
Note: For any of the methods below, if an item has an asterisk after to it, I’ll explain it in more detail before the instructions.
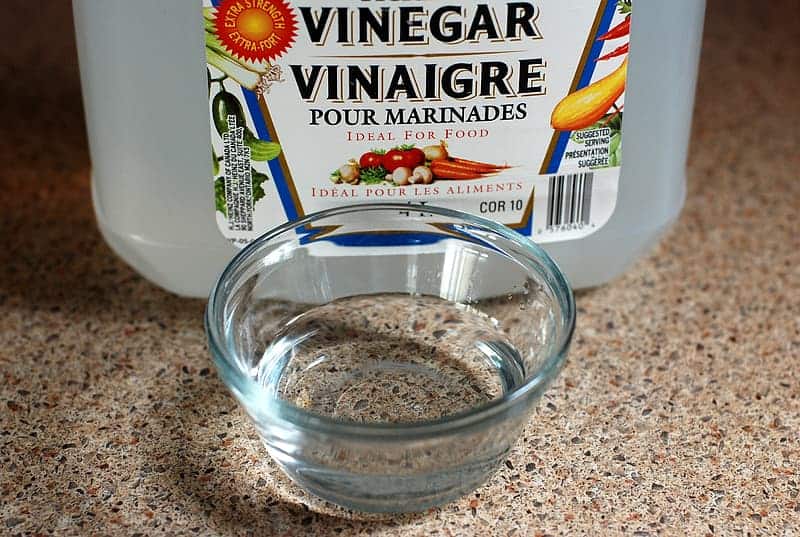
Soak Them In Vinegar
Food-grade vinegar is gentle on the skin, yet acidic enough to kill germs. You can use it on clay or plastic pots.
You’ll Need
- White vinegar
- Warm water (optional) *
- A large sink or bucket
- A scrubbing tool
*Note: The water is only a cost-controlling measure. If you can use undiluted vinegar, it will probably work better.
How To Sterilize Pots With Vinegar Soak Steps
- Mix The Water And Vinegar
In a large sink or bucket, mix warm water and vinegar in a 1:1 ratio. You should be able to fully submerge the pot in the solution.
If you’d rather not dilute your vinegar, don’t, but this will likely take a lot of vinegar!
- Let The Pot Soak
Leave the pot in the solution for about three-to-four hours.
- Scrub It Down
Using an old toothbrush or another scrubbing tool, remove any leftover stains or dirt on the pot.
- Rinse It Off
Thoroughly rinse the pot so no vinegar residue is left over. Keep in mind that since vinegar is acidic, it can affect the pH of the soil.
- Let It Air Dry
You can wipe the pot with a towel if you want, but it’s easier to just let it air dry. The best place is outdoors, in the sunlight.
Spray The Pots With Vinegar/Hydrogen Peroxide
Another way to sanitize pots with vinegar is to simply spray it on. This method makes it more cost-effective to use undiluted vinegar.
The steps below work just as well for hydrogen peroxide. Use whichever you have on hand.
You’ll Need
- White vinegar or hydrogen peroxide
- An empty spray bottle
- A dry rag
- Water to rinse the pot
How To Sterilize Pots By Spraying Vinegar/Hydrogen Peroxide Steps
- Fill The Spray Bottle
Fill the spray bottle with vinegar or hydrogen peroxide. For maximum cleaning power, don’t dilute it with water.
- Spray The Pot
Thoroughly spray the inside of the pot with either liquid.
- Let It Sit
Either chemical needs at least 10 minutes to do its job, but 20 minutes is better.
- Rinse The Pot
Since vinegar can make the soil more acidic, it’s a good idea to rinse the vinegar out of the pot.
If you use hydrogen peroxide, you should probably still rinse it off because it’s a weak acid.
- Wipe It Dry
Use your rag to dry the pot. For extra sanitization, you can also leave the pot to air-dry in the sunlight.
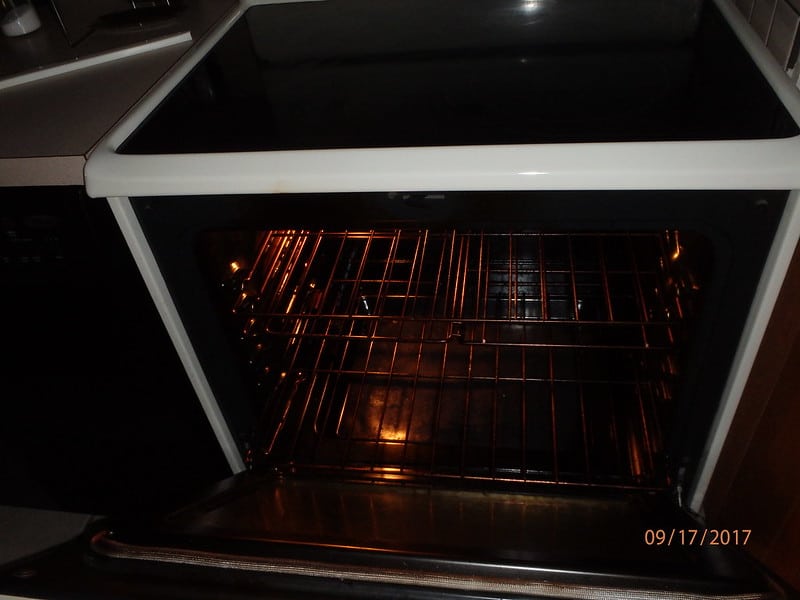
Bake Your Pots In The Oven (Clay Pots Only)
Enough heat will kill anything. This method can melt plastic, so only use it for clay pots.
You’ll Need
- An oven
- A baking tray
How To Sterilize Pots By Baking Steps
- Preheat The Oven
Preheat the oven to 220F/104C. This temperature is more than enough to kill most bacteria, viruses, and fungi.
You may have to remove a rack or two to make room for the pots. Do this before the oven gets too hot.
- Bake The Pots
Place the pots on a baking tray, put them in the oven, and bake them for an hour.
- Let Them Cool Off
Turn the oven off, leave the oven door open, and let the pot cool down.
Put The Pots In The Dishwasher (Clay Pots Only)
The hotter your dishwasher setting, the more germs it can kill. However, Family Handyman recommends using a gentle cycle, which may use less heat. Use your judgment.

This method is for clay pots because only some plastics are dishwasher safe. Plus, even heat-stable plastic may release harmful chemicals when heated, which is important if you intend to grow food in your pots.
You’ll Need
- A dishwasher
- Dishwasher detergent (optional)
How To Sterilize Pots Using Dishwasher Method Steps
- Put The Pot In The Dishwasher
Whether you put a clay pot on the top or bottom rack doesn’t matter – if it’s small, just make sure it can’t fall through the rack.
If you choose to use this method for plastic pots, choose the top rack.
- Add Detergent
Even though this article is about how to sterilize pots without bleach, bleach is a key ingredient in most dishwashing detergents. If you’re willing to use bleach without touching it, dishwashing detergent will get your pots extra clean.
Leave Them In The Sun
Although numerous sources recommend letting pots dry in sunlight, few recommend sunlight, alone, as a disinfectant. There’s plenty of evidence that sunlight kills germs, but little research on how well it sanitizes pots.
In one study, researchers from The University of Oregon set up miniature rooms with glass windows and filled them with dust from real homes. After 90 days, rooms exposed to daylight had half the viable bacteria compared to rooms left in darkness.
The World Health Organization even recommends sunlight for disinfecting water. Leaving water in a transparent container in the sun for six hours does the trick (although purifying it further is still a good idea).
Although it isn’t known how well sunlight sanitizes pots, you can’t go wrong by combining this method with another on this list.
You’ll Need
- A sunny outdoor area
How To Sterilize Pots With Sunlight Steps
- Leave The Pot Outside
Leave the pot in an area that receives at least six hours of sunlight, including when the sun is directly overhead. The inner part should face upwards.
- Turn The Pot
Unless you’re at the equator during an equinox, the sun’s angle will leave a shadow on one side of the pot. In the northern hemisphere, it will be the north-facing side.
Halfway through its time outside, turn the pot around so it can be fully solarized.
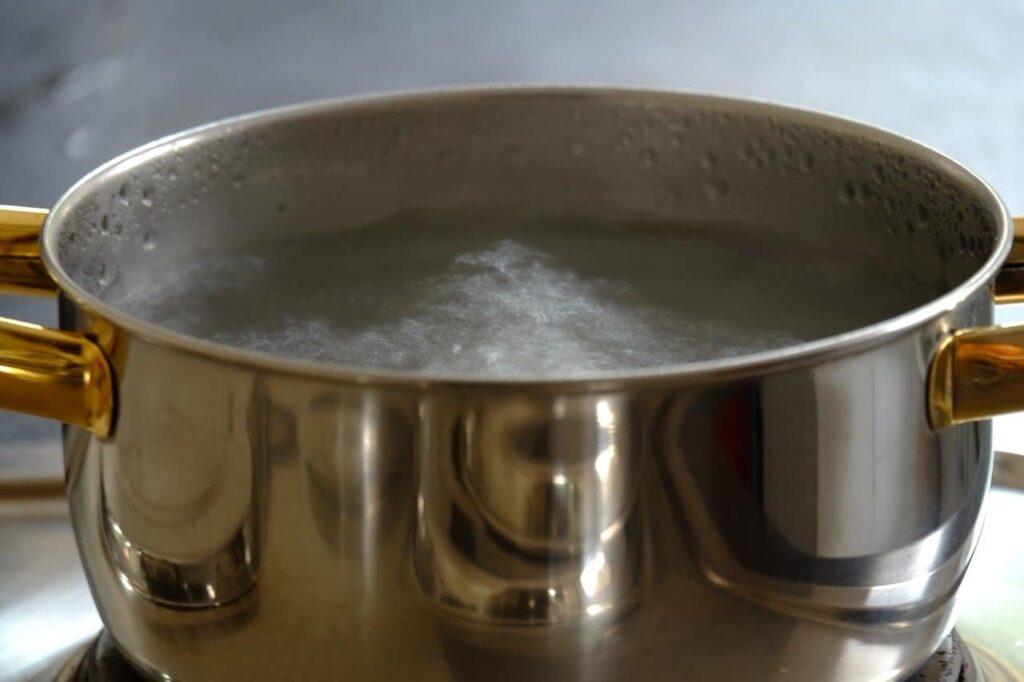
Boil The Pots
This method is safe for clay pots. As for plastic pots, if yours says what kind of plastic it’s made of, look up whether or not it’s safe to boil.
Also, just FYI — hot liquids can release harmful chemicals, such as BPA, from plastic. Take note of this if you plan on using plastic pots to grow food.
You’ll Need
- A large cooking pot full of water
- A stove
- Metal tongs
How To Sterilize Pots With Boiling Steps
- Place The Cooking Pot Of Water On The Stove
The cooking pot should be large and full enough for you to completely submerge the plant pot.
- Place The Plant Pot In The Water
Submerge the plant pot in the water while it’s cool.
- Bring The Water To A Boil
Turn your stove on its highest setting and wait for the water to boil.
- Boil The Pot
Leave the pot in the boiling water for anywhere from 30 minutes to an hour.
- Take It Out
Use your tongs to carefully remove the plant pots and set them somewhere to cool. Let them air dry.
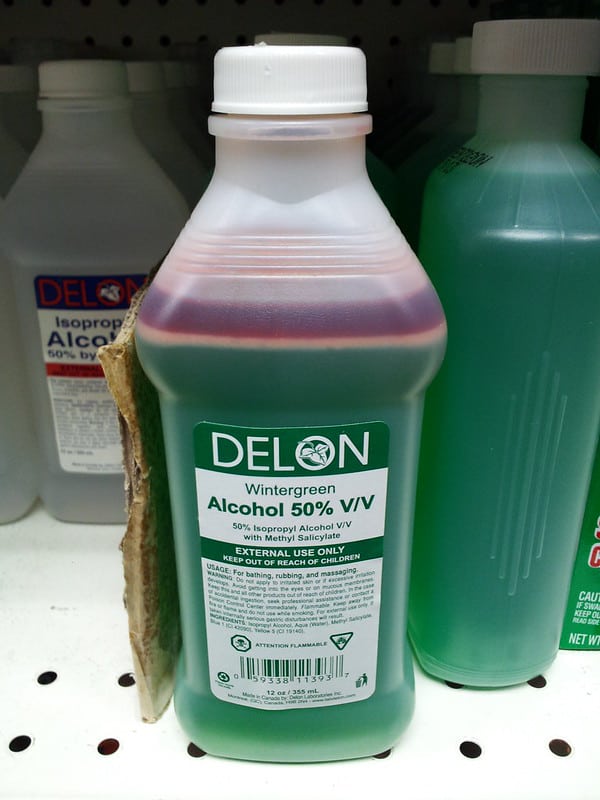
Clean Pots With Rubbing Alcohol
Rubbing alcohol is a quick, effective way to sanitize pots.
You’ll Need
- A well-ventilated area
- Rubber dish gloves
- Rubbing alcohol
- A rag
- A bowl (optional)
How To Sterilize Pots With Rubbing Alcohol Steps
- Find A Well-Ventilated Area
Since rubbing alcohol gives off harmful fumes, it’s best to use it outdoors or in a room with a fan and an open window.
- Soak The Rag In Alcohol
Wearing rubber dish gloves, pour alcohol on the rag until it’s saturated. To avoid wasting alcohol, you can have a bowl on the floor to catch what the rag doesn’t absorb.
- Wipe Down The Pot
Thoroughly wipe down the inside of the pot. The alcohol will dry quickly.
You Now Know How To Sterilize Pots Without Bleach
Now that you know how to sterilize pots without bleach, you can have confidence that they won’t transmit diseases to your new plants. Bleach is effective, but you don’t have to use such a harsh chemical.
By the way, if you’ll be using your pots for indoor gardening, you may enjoy this image post on indoor garden ideas or this one on small garden ideas.
Did you enjoy this tutorial? If so, please share it! Please also share your thoughts and concerns in the comments.
Thank you!!!
Do NOT place terra cotta pots in a preheated oven; they would likely break due to temperature changes. Like an ice cube melting.
Thanks for the tips! I needed to sterilize a pot too large to fit into my sink, so the alcohol method worked perfectly. Honestly, I’ll probably never bother using bleach on pots again.
So many options and great info! Thank you. This is very helpful!
Thank you for giving several options for sanitizing pots without bleach.
I’m going to use the vinegar spray method after I clean out the old dirt.