Wondering how to grow mint indoors? Growing mint indoors begins with choosing a pot and a sunny window. You can also use a grow light. Whether you grow your mint from seeds, cuttings, or store-bought plants, you’ll only need regular potting soil. Keep it moist with regular waterings.
Contents
Want To Enjoy Fresh Mint Year-Round?
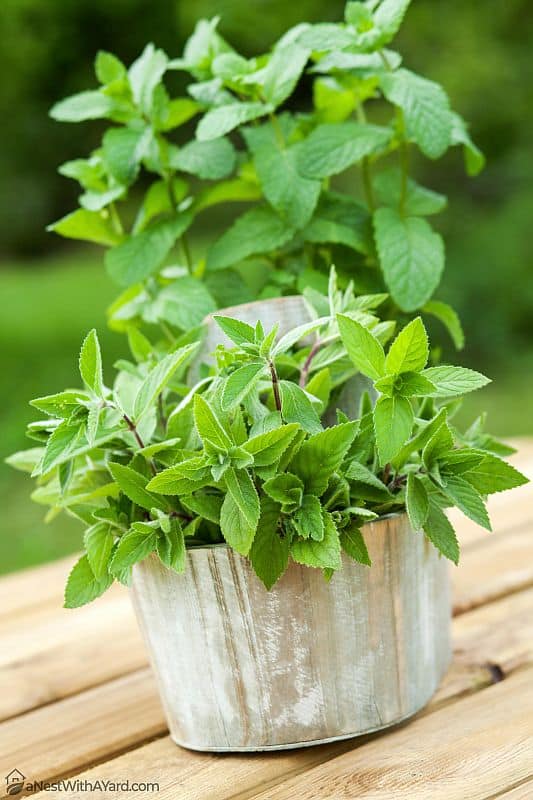
I recommend growing mint indoors because it’s a culinary herb, it smells amazing, and it thrives without much assistance. Plus, mint is a classic Christmas flavor. When it’s too cold to grow anything outside, you can enjoy your fresh mint as a festive garnish, as tea, or in hot cocoa!
I think mint is as beautiful as it is refreshing. It can be a perfect plant for your beautiful and useful indoor garden or a small garden you may have on a balcony or on a patio. If you agree, follow the steps below to grow your own!
Growing Mint Indoors Is As Easy As These Steps
Gardening, in general is great for your health and happiness, but indoor gardening is especially so because it transforms your living space.
As I’ve written about here, indoor plants can improve your sleep, lift your mood, and even help you heal faster! Plus, if you live in an apartment, indoor gardening may be your only option. And it’s not even that hard with a help of some essential tools we wrote about here.
I hope that my tutorial will give you a new way to enjoy staying home!
Part 1 — Preparation
Growing mint indoors is simple, as Angela Price demonstrates:
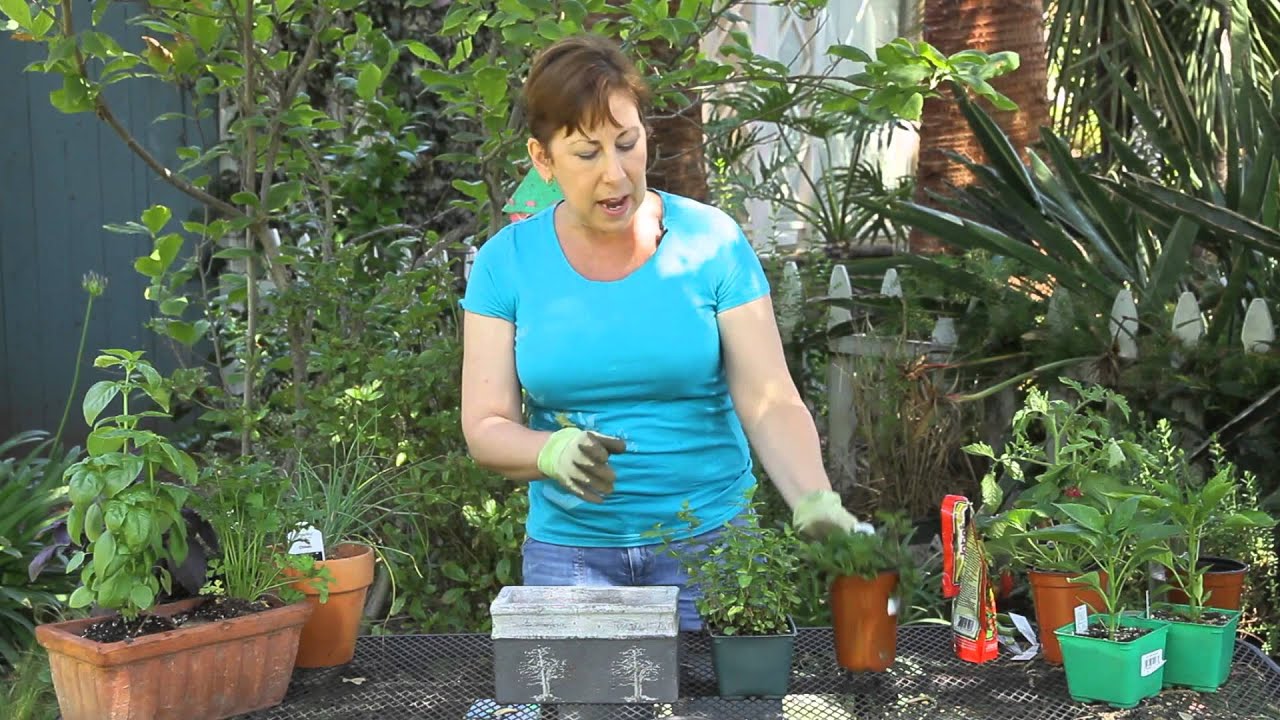
Whether you intend to grow your mint from seeds, cuttings, or store-bought plants, there are a few things you should do beforehand.
First, make sure you choose a good spot.
A south-facing window will give your mint the most sunlight, although it can also thrive in a window facing east or west. If the room you want your mint in doesn’t have a sunny window, you could always get a grow light.
You can also hang a pot from a wall or ceiling – read my post about how you can do it.
Since accidents happen, choose an area where it won’t be a disaster if you spill water or soil. Also keep in mind that some surfaces, such as wood, can get discolored from repeated exposure to water and other chemicals.
For this reason, either choose a pot with no holes or get one with a solid container to capture excess water.
*Note: If you want to get a pot without holes, please skip ahead to “How To Take Care Of A Mint Plant Indoors.” It is crucial that you choose the right-sized pot and create an internal drainage system to collect excess water!
Measure your windowsill before getting a pot so you’ll know what dimensions it should have. The average windowsill would best accommodate a narrow, rectangular pot. Before you get mint or mint seeds, fill your pot with regular, well-draining potting soil.
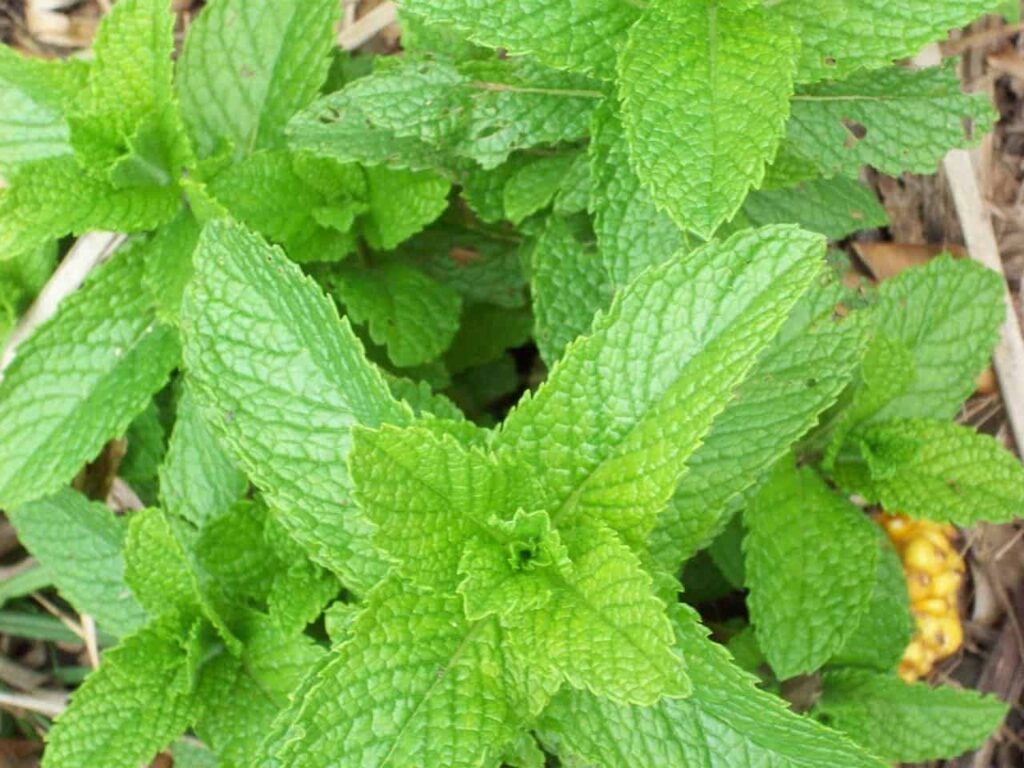
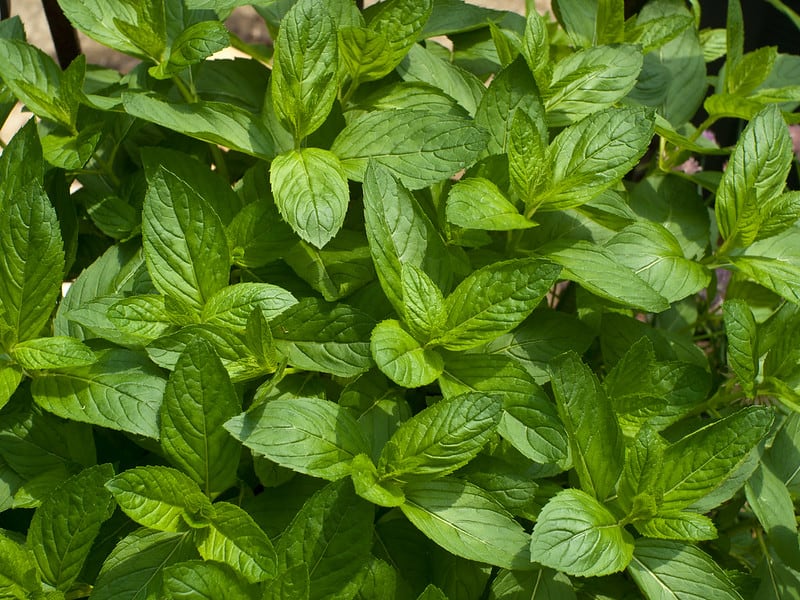
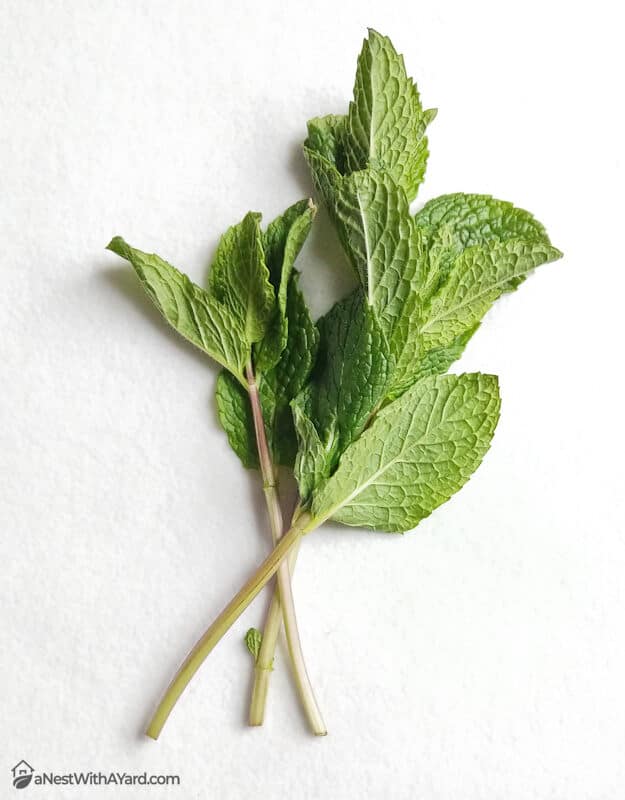
There are many varieties of mint to choose from, such as:
- Peppermint
- Spearmint
- Chocolate mint
- Pineapple mint
- Catmint
*Note: If you have a feline family member, you may be wondering if catmint is the same thing as catnip. They’re slightly different species, with catmint being the prettier of the two.
Some sources say that either species will drive cats wild, whereas others claim that cats prefer catnip. You could always get both and see which one your cat prefers!
Growing mint from a store-bought plant is pretty straightforward — gently remove the plant from its container, soil intact, and plant it in your pot.
The other methods of growing mint require more effort.
Part 2 — How To Grow Mint Indoors From Seed
Before you set your mind on this method, know that real peppermint is a sterile hybrid that has to be grown from cuttings.
According to Richters, an herb company that discourages growing mint from seeds, so-called “peppermint” seeds are actually a type of “rank-smelling” spearmint.
Scent and flavor are subjective, however, so you might enjoy this fake peppermint just fine. There are also plenty of other mint seed varieties, such as these chocolate mint seeds from Burpee, which seem to be popular with customers.
There are many reasons to prefer growing plants from seeds. A major reason is that it’s cheap — a seed packet that costs the same as a store-bought plant may contain 100 or more potential plants!
And if you store them correctly, you can save the seeds you don’t use to plant years later.
Seeds are also easier to order online, which makes them the safest option during the coronavirus pandemic.
To grow mint from seeds, you will need:
- Mint seeds
- A seed tray
- A seed-starting medium
- A sunny window or grow light
Follow these steps:
- Decide how many seeds you will sew
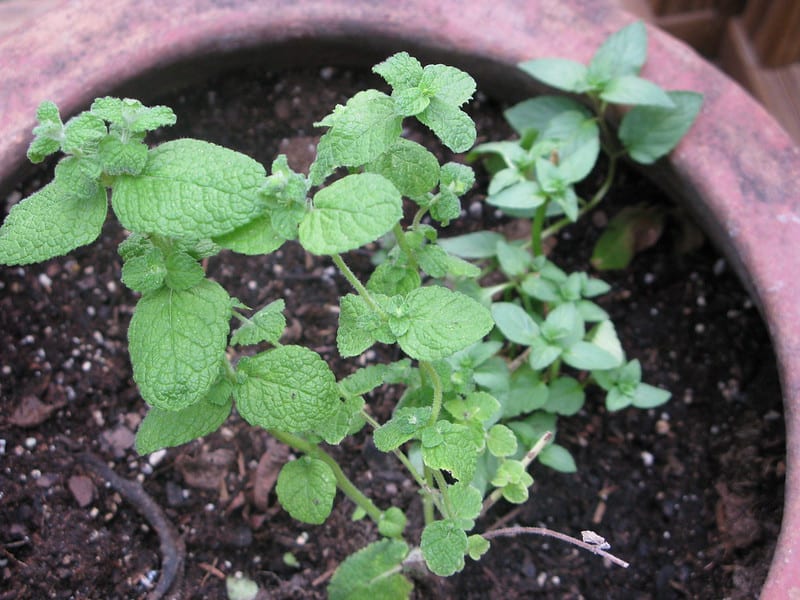
Keep in mind that because mint spreads quickly, you’ll only need one plant per 10-inch pot.
Different types of mint have different space requirements in an outdoor garden. You can use these requirements to choose a number of plants for your pot. For example, peppermint needs at least 18 inches of space, whereas spearmint needs at least three feet.
Different plant varieties have different successful germination rates. For example, every three-to-five of these spearmint seeds produce one plant.
- Fill a seed tray with your seed-starting medium
For my seed-starting medium, I just use potting soil and/or peat moss. Store-bought mixes tend to be expensive, so it’s a good idea to make your own.
- In each cell, sew a seed about ¼ of an inch deep
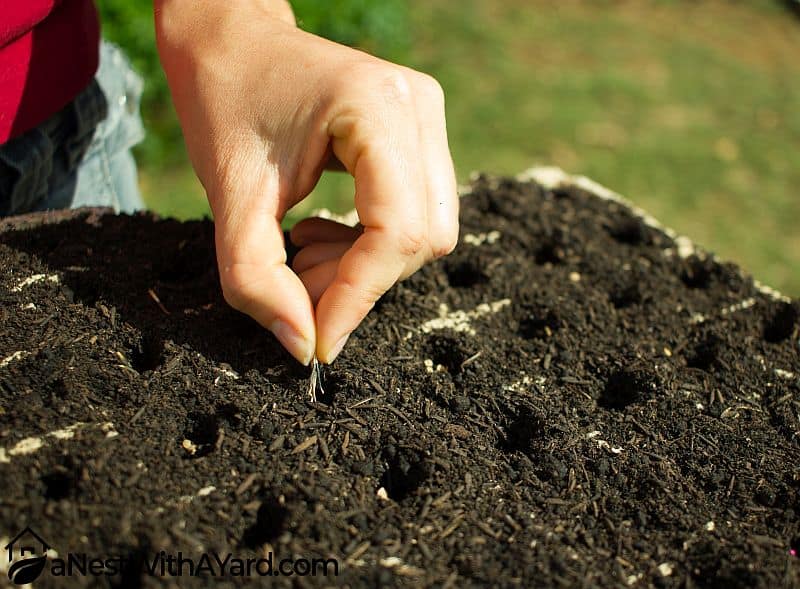
For this step, I like to use a sharpened pencil to poke perfect holes for the seeds.
- Keep the soil moist and warm
An ideal temperature is 70F, give or take. Your seeds will germinate in one to two weeks.
- Give the seedlings plenty of light
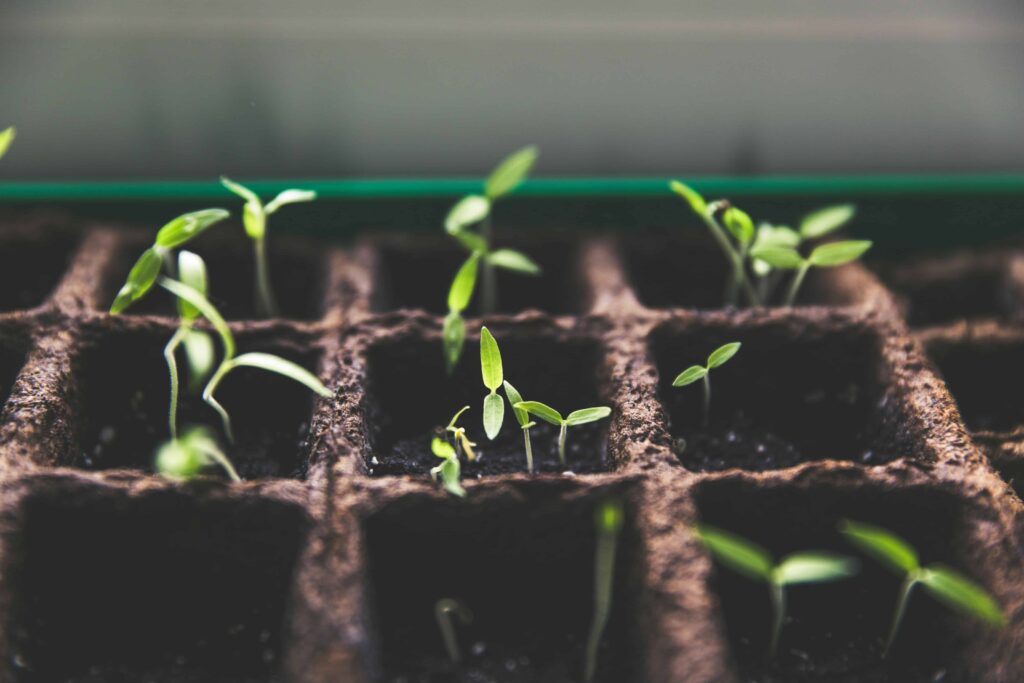
When your seeds germinate, place them in a sunny window or under a grow light. Whichever method you use, keep their growing medium moist.
If you place your seedlings in a window, be careful not to let them fry from excess heat. Make sure there’s no curtain over them. I’ve learned from personal experience that a curtain can create a vicious greenhouse effect.
If you use a grow light, position it at least three inches away from the seedlings and leave it on for 16 hours a day. Make sure you leave it off for 8 hours a day — plants need sleep, too!
- When your seedlings have at least three pairs of leaves each, gently transfer them to your pot
For this step, I dig holes in the pot ahead of time and transfer each seedling with a kitchen fork. I like using a fork because it easily slides through the seed-starting mix and under each seedling’s roots.
Part 3 — How To Grow Mint Indoors From Cuttings
If you know someone who grows mint, see if they’re willing to share some cuttings. As Gardening at 58 North explains, mint cuttings are very prone to sprouting new roots:

There are two main ways to grow mint from cuttings: in water and in soil. I’ll cover both below.
Growing Mint From Cuttings In Water
To grow mint from cuttings in water, you will need:
- Scissors
- Transparent glass of water
- A mint plant to take cuttings from
- Pots for the new plants
- Potting soil
- A hand trowel or other digging tool
Follow these steps:
- Choose some stems
On the source plant, find strong stems with healthy-looking leaves.
- Snip off some cuttings
With your scissors, cut off some good stems about three inches down. Take a few more cuttings than your desired number of plants, just in case some of them fail to root.
- Remove the lower leaves

As shown in the video, gently remove the lower leaves on each cutting by holding the tip of the stem and pulling your hand downwards. Only about five or six upper leaves should remain.
- Snip each stem just below its lowest leaf node
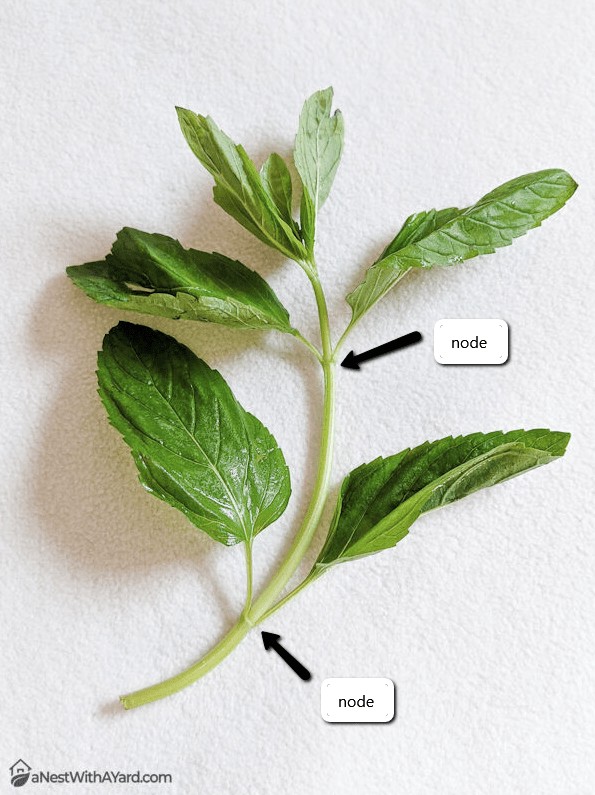
Leaf nodes are the little bumps you’ll see on the stem.
- Put the stems in the glass of water
You’d think cuttings would need soil to root, but water works just as well.
- Leave the glass in a warm area with indirect sunlight

In a few weeks, the cuttings will sprout new roots. You’ll be able to see them through the glass, so keep an eye on them.
- Transfer the rooted stems to your pot(s)
In each pot that you’ll plant mint in, fill it with potting soil and use a hand trowel to prepare a hole. Take one of the rooted stems and place it gently in the hole. Bury its roots and pat the soil down to hold the new plant steady. Finally, give it some water.
Growing Mint From Cuttings In Soil
To grow mint from cuttings in soil, you will need:
- Scissors
- A pot for rooting
- More pots for the new plants
- Regular potting soil
- A mint plant to take cuttings from
- A hand trowel or other digging tool
Follow these steps:
- Repeat the first four steps for rooting cuttings in water
As a recap, find some healthy-looking stems and cut them about three inches down. Gently remove the lower leaves, leaving five or six upper leaves. Snip each stem just below its lowest leaf node.
- Stick the stems in a pot full of moist potting soil
Normal spacing requirements don’t matter while you’re just trying to root mint. You can give each plant its own pot later.
- Keep the cuttings out of direct sunlight for a week or two
They won’t take long to develop roots. You can see if a cutting has rooted by gently tugging it upwards. If it has roots, you’ll feel resistance.
- Gently transfer each rooted cutting to its own pot
Using a hand trowel or similar tool, prepare a hole into your mint’s new pot. Then, use a hand trowel to dig deeply underneath your rooted mint. Firmly hold the plant with your free hand and set it into its new pot.
How To Take Care Of A Mint Plant Indoors
How Often To Water Mint Plant
How often you should water your mint plant depends on a number of variables, such as how well your potting soil holds moisture, how hot it gets in the sun, and whether or not your pot has drainage holes.
Fortunately, there’s a one-size-fits-all test to know if your mint needs water. Every day, feel the top inch of the soil. If it feels dry, water it. You won’t have to do this test as often when you get a feel for your soil’s watering requirements.
If your pot lacks drainage holes, water carefully!
If your pot has drainage holes, you’ll know you’ve watered it enough when water seeps into the drainage tray. If you accidentally water it too much, just drain the pot and empty the tray in a sink.
But if your pot has no holes, you’ll need to water it cautiously. Not only can a plant have too much water, but pooled water in a pot can host bacteria and fungus. A potential consequence is root rot, an insidious disease that can kill your plant before you realize it’s sick.
If your pot doesn’t have drainage holes, get a transparent one:
For whatever reason, you may prefer to use a pot without drainage holes. It is far from ideal for your plant’s health, but you could make it work. Despite their risks, I like solid pots because they don’t spill water, making them better for rooms with carpets.
If you’d prefer a pot with no holes, I highly suggest choosing a transparent one. This way, you can see how much water it’s holding. I often use glass jars or empty plastic containers. A good large option is a plastic pet tank.
Considering that a pot with drainage holes should be 10-12 inches tall for mint, a pot without holes should have an extra 2-3 inches to accommodate an internal drainage system.
How To Create An Internal Drainage System
If you’re going to use a pot with no drainage holes, you should give it an internal drainage system. To do this, you’ll need:
- Some clean rocks
Landscaping rocks are ideal, but you can also use rocks from your yard. If you use rocks from your yard, you can sterilize them with boiling water.
- Horticultural charcoal (optional)
I usually just use rocks, but charcoal can absorb moisture, nourish the soil, and serve as an anti-microbial filter.
Here are the steps to prepare your pot for excess moisture:
- Put the rocks into your pot.
Evenly fill your empty pot with rocks, up to two or three inches high.
- Add the charcoal.
Add a very thin layer of horticultural charcoal over the rocks, enough to mostly cover them.
- Add potting soil.
Leave enough empty space for water to be contained by the pot’s walls.
Common Diseases Of Mint
Though mint is known for its hardiness, it can get sick. Here are some common mint diseases and ways to deal with them:
Fusarium Wilt
Fusariaum wilt is a common fungal disease in basil, mint, and many other crops. Normal-looking mint seeds often host the fungus, only showing symptoms long after germinating. But regardless of its origin, fusarium wilt can live in soil for 8-12 years.
Plants with fusarium wilt tend to reach about six-to-12 inches in height before they stop growing and wilt. However, the North Carolina Cooperative Extension says that mint often shows no outward symptoms of a fusarium infection. If yours shows symptoms, you may see:
- Crooked or discolored stems
- Yellow leaves
- Dying leaves
If you ever decide to plant your healthy-looking mint outside, it might infect other plants in your garden with this disease.
Identifying Fusarium Wilt
If you suspect that your mint has fusarium wilt, cut off a diseased-looking stem and inspect the cross-section. If it has a dark, brownish area in the middle, you probably guessed right.
What To Do Next
If your pot-grown mint has noticeable fusarium wilt, it’s probably not worth trying to save. Even the potting soil is tainted. As cheap as it is to grow mint, you may as well clean your pot and start over.
Verticillium Wilt
Although it behaves similarly to fusarium wilt, verticillium wilt is caused by a different fungus. This disease affects over 300 plant species, including mint. It can kill plants in days or years.
Symptoms include:
- Wilting
- Dead or yellow leaves
- Stunted growth
Like fusarium wilt, verticillium wilt will discolor the insides of a stem.
This disease cannot be cured. If your mint has it, you can enjoy it while it’s still alive or discard it immediately. Toss out the soil, too, and thoroughly clean the pot it was in so you can start over.
Powdery Mildew
If your mint is covered in white spots or looks like it’s been dusted with flour, the most likely culprit is powdery mildew. Other symptoms include:
- Dry yellow leaves
- Disfigured or broken leaves
Yet another fungal disease, powdery mildew is made of countless spores that travel through wind. It colonizes plant leaves to feed off of their nutrients, weakening their host plants in the process. Powdery mildew can kill its host but won’t necessarily.
Powdery mildew can be killed or controlled. If only some of your mint appears to have it, you should remove those pieces immediately. Otherwise, spray the leaves with a fungicide such as:
- Sulfur
- Lime-sulfur
- Potassium bicarbonate
- Neem oil
You can also mix a teaspoon of baking soda into a quart of water to create your own spray solution.
Common Pests Of Mint
Growing mint indoors shields it from many, but not all garden pests. And though many bugs detest mint, others love it. Here are some common indoor pests to watch out for:
Spider Mites
Unfortunately, one of the most common indoor pests is drawn to mint. If you ever find your mint covered in yellow spots and webbing, the most likely culprits are two-spotted spider mites.
If you want to confirm their presence, their blood will show on a tissue if you rub it under a leaf. Spider mites are difficult to see with the naked eye.
These tiny, translucent bugs like to live on the undersides of a plant’s upper leaves, literally sucking the life out of them. Left unchecked, they can destroy all of your mint.
How To Get Rid Of Spider Mites
If you are able to control the temperature and humidity in your home, you can buy yourself some time to remove and/or kill these pests. Spider mites eat less in high humidity and reproduce less in cool temperatures.
You may be able to blast spider mites off your mint with a spray nozzle or hose. If this doesn’t work, try organic treatments such as:
- Pyrethrum
- Rosemary oil
- Garlic water
- Hydrogen peroxide
You can coat leaves with potassium salts or a little rubbing alcohol.
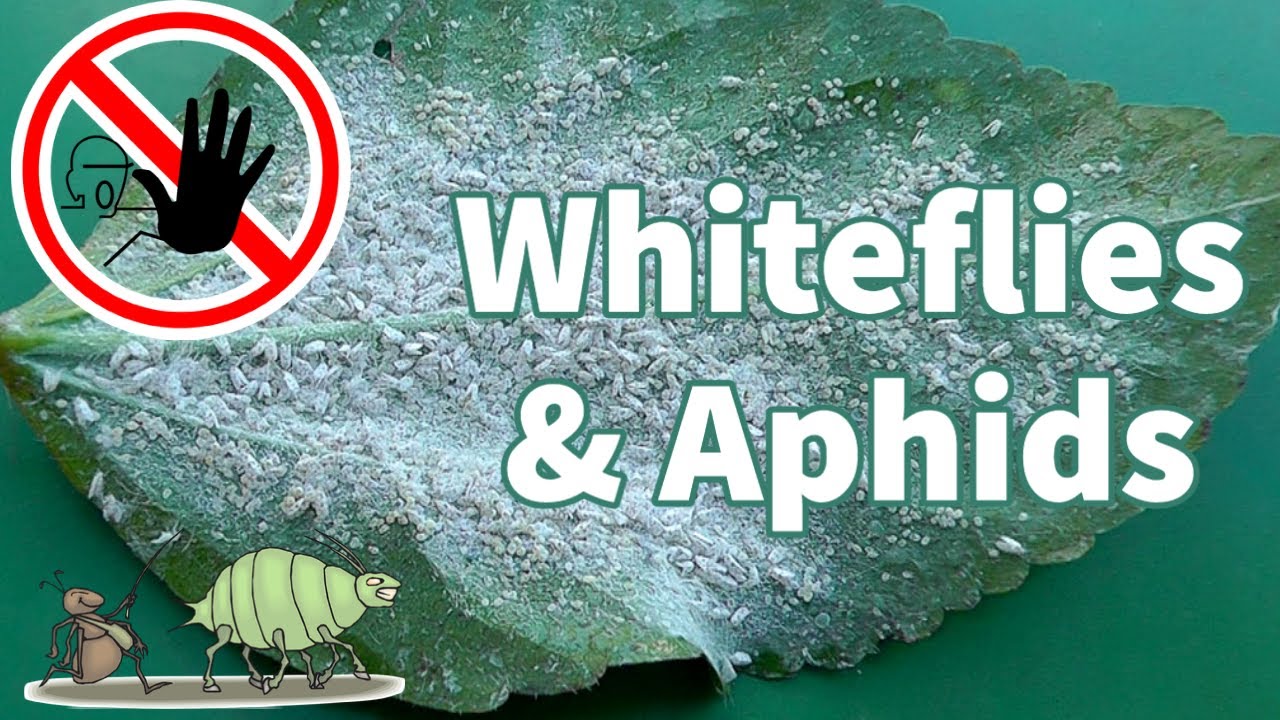
Whiteflies
Whiteflies are small, triangular insects with waxy white wings. Like spider mites, they suck sap from the undersides of leaves, causing them to turn yellow or die. Whiteflies can also transmit diseases from one plant to another, as California Gardening explains:
These bugs are easy to see with the naked eye, but they can be hard to eradicate because they fly and because they’re resistant to some pesticides. An effective workaround for this is a yellow sticky trap.
Additionally, it may help to spray your mint with the castile soap solution shown in the video above.
Thrips
If your mint’s leaves are curled or disfigured, you may assume they have a disease. The culprit may actually be tiny flying insects called thrips, which can be green, brown, or tan. Thrips deposit black, metallic specks of their feces on a plant’s leaves.
As with spider mites, you can slow down a thrip infestation by keeping it cool inside. As for getting rid of them, you can try spraying them with water, hanging up a sticky trap, or using an insecticide like pyrethrin.
Aphids
Even though mint normally repels aphids, the tables occasionally turn. Like other pests on this list, aphids sometimes turn mint leaves curled and yellow by sucking out their sap.
A plant infested with aphids may have sooty mold on its leaves — aphids secrete a liquid called honeydew, which becomes food for sooty mold fungi.
If your aphid infestation is small, try pruning infested leaves and spraying your whole plant with water. Aphids can also be deterred by shiny objects, such as aluminum foil. If you have a severe infestation, you may have to use an insecticide, such as imidacloprid.
Growing Mint Indoors Is Easy, Fun, And Refreshing!
Now that you know how to grow mint indoors, you can enjoy its beauty, aroma, and flavor year-round! Mint is ideal to grow indoors because it’s low maintenance and nice to have in a kitchen.
Growing mint indoors is a wonderful way to enjoy being at home. Not only can it keep you busy, but indoor gardening is scientifically proven to improve your mood and sleep.
Did you enjoy this tutorial? If so, please share it! Let me know what you think in the comments.