The most popular method to make homemade ice melt is to use dish soap and rubbing alcohol. To do this, mix together a half-gallon of hot water, six drops of dish soap, and ¼ cup of rubbing alcohol. The ice will bubble and melt once this mixture is poured onto it.
Winter’s snow is upon us and that means a trip to the shop to buy expensive ice melt. But while we can’t really do much to control snowfall, we can save some cash by making our own ice melt!
Keep reading to find out how you can DIY your own homemade ice melt with these 9 easy recipes using simple ingredients you can find at home!
Contents
- 1 How Does Ice Melt Work?
- 2 The 9 Best DIY Homemade Ice Melts
- 3 FAQs
- 4 Are You Ready To DIY Your Own Homemade Ice Melt?
- 5 About The Author
How Does Ice Melt Work?
Before jumping into the juicy stuff, let’s talk about what’s so good about ice melt and how it works.
Ice melt is also known as de-icer and is used to reduce the freezing point of water. Most ice melts are made up of a blend of ingredients like sodium chloride, calcium chloride, and magnesium chloride. These ingredients are sometimes regarded as toxic and can be quite dangerous if ingested, so extra caution is advised especially if you have kids and pets.
Salt (sodium chloride) is the most well-known ingredient in ice melt, but what melts ice besides salt? Actually, lots of things! Ingredients such as vinegar, baking soda, and Epsom salt all make wonderful ice melts, as well.
Let’s move on to how ice melts work. Ice melts prevent ice build-up and break up ice into liquid slush. Ice melt is typically used on gravel driveways, sidewalks and cars to clear snow and it does this by breaking the bond between the ice and the surface it’s on so that it can be removed easily.
Ice melt can be applied before snowfall or on top of ice and snow that’s already formed.
The 9 Best DIY Homemade Ice Melts
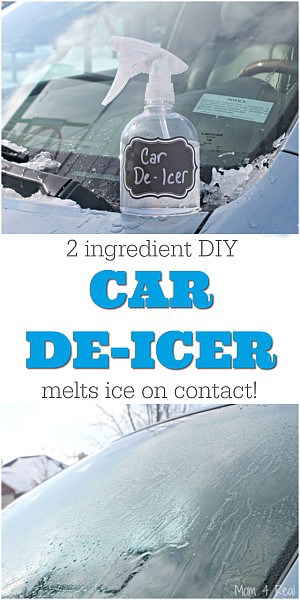
Dish Soap & Rubbing Alcohol Ice Melt
Have you ever caught yourself in a situation where you’re in a rush to work in the morning only to find your car covered in snow? Not only are you going to be super late, but you still need to find a quick way to get the snow off before leaving.
I’ve got a quick fix that’s perfect to get your car ready after a night’s snowfall. And all you need are 3 simple ingredients!
What You Need
- Half a gallon of hot water
- 6 drops of dishwashing soap
- 2 ounces of rubbing alcohol
- Spray bottle
Steps
One and a half hours 1 hour and 30 minutes
- Fill a large bucket with hot water.
 Image credit: flickr.com
 - Add in the dishwashing soap.
Mix thoroughly.
Ensure that the soap has blended into the water. - Add the rubbing alcohol.

Image credit: flickr.com - Give it one more good mix.
- Pour the mixture into spray bottles.
- Spray on the icy spots.

For example, over your car’s icy front and rear windshields and rearview mirrors.
 Image credit:

Check out this video on the Local 21 News WHP YouTube channel for a similar method:

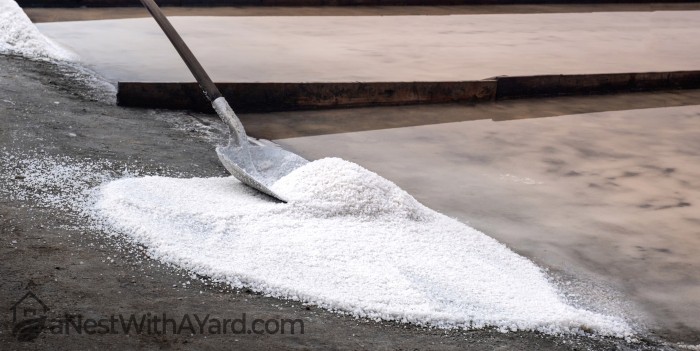
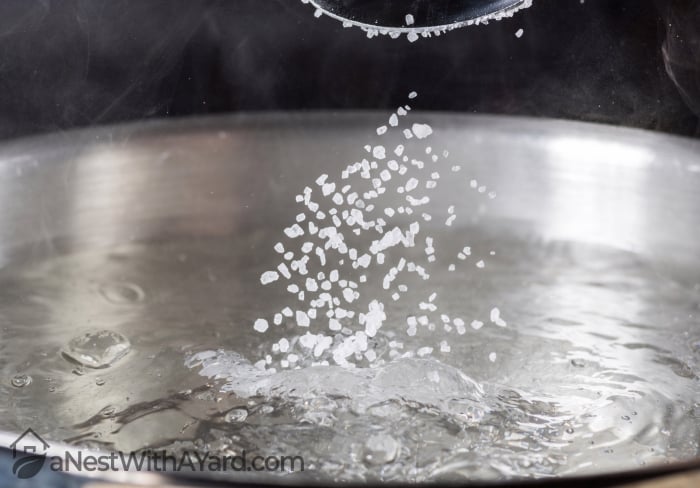
Salt Ice Melt

Next up we have one of the most popular methods for melting ice – salt ice melt. Salt doesn’t quite melt ice, but it lowers the freezing point from 32 degrees Fahrenheit to 15 degrees Fahrenheit.
Because of this, salt ice melts don’t work very well in extremely cold conditions. It is, however, very effective in regions that usually have weather around the 20-30 degrees Fahrenheit range. This ice melt is best used on driveways and sidewalks.
You can use table salt if you can’t get your hands on rock salt, but you may not end up with the best results. Using table salt may result in less traction when you step on the area it’s used on.
What You Need
- Hot water
- Rock/table salt
Steps
- Fill a bucket with hot water.
- Drop in your salt.

- Mix thoroughly
Mix until the salt has dissolved.
- Use it


Pour the mixture over the icy sections of your sidewalk or driveway.
Fertilizer Ice Melt

Who would have thought that fertilizer could be useful in winter? Definitely not me! Fertilizer is generally made up of ingredients such as ammonium sulfate, alfalfa meal, and urea. These ingredients are the reason why fertilizer is so great at melting ice.
As great as this method is, please exercise caution when using it because it can prove to be quite dangerous when used often and over a long period of time. Overuse of fertilizer to melt ice could potentially lead to it burning vegetation, eroding concrete and polluting waterways.
What You Need
- Granular, organic fertilizer with a high content of ammonium sulfate, alfalfa meal, or urea.
Steps
Spread a layer of fertilizer over the icy surface you wish to target.
Please note that this method won’t give you immediate results, but rather, it will help speed up the melting process.
Baking Soda Ice Melt
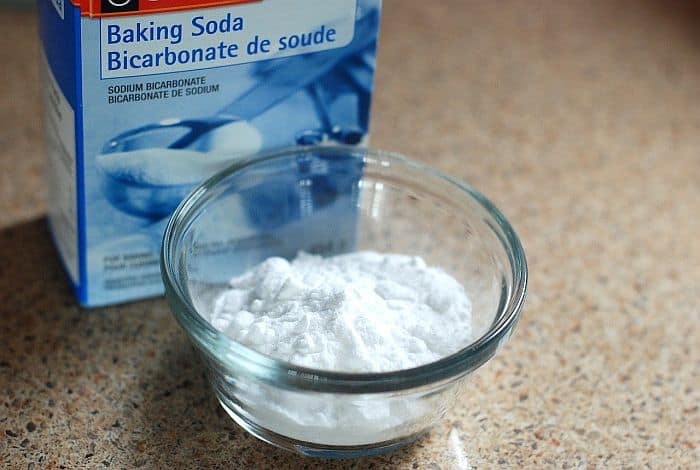
Baking soda ice melt is very similar to salt ice melt. When the baking soda ice melt permeates the snow, it reduces the freezing temperature to below that of the ice. Baking soda ice melt works well in moderately cold conditions.
Another great thing about this method is that baking soda is less alkaline than salt, so it’s less likely to damage concrete or bricks. This method is safe to use on sidewalks, driveways as well as cars.
What You Need
- Hot water
- Baking powder
- Spray bottle
Steps
- Fill a bucket with hot water.
- Pour in your baking soda.

Image credit: flickr.com - Mix thoroughly.
- Fill a bottle with the mixture.
Use a spray bottle if you wish to use it on your car. Use some other container if you want to use it somewhere else. - Pour or spray the mixture onto the icy surface you’re using it on.


Beet Juice Ice Melt
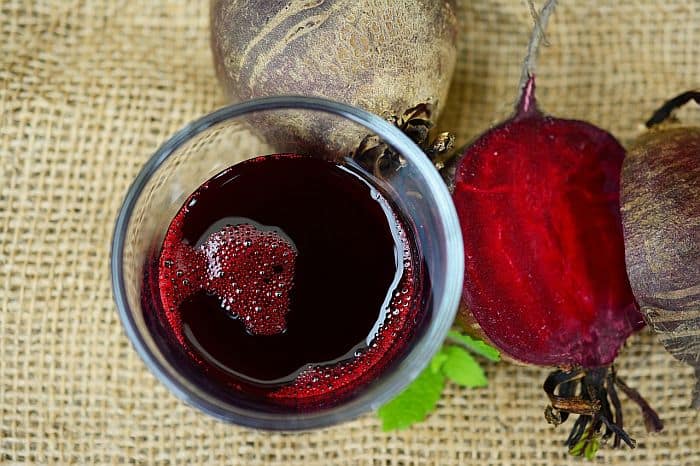
If you have small kids and pets, you’re probably on the lookout for an all-natural ice melt alternative that’s safe if consumed. Introducing beet juice ice melt (yes, you read this correctly), the clean option.
The key temperature reducing ingredients in this concoction are the natural sugar in beets and the salt in the brine. Sugar is known to drop the freezing point of ice, while salt melts ice at 15 degrees Fahrenheit. Another reason why this solution is great as an ice melt is because of its sticky nature, which reduces the amount of salt that runs off into waterways.
Beet juice doesn’t harm plants or corrode surfaces such as cars, sidewalks and driveways. You might have a purple-stained driveway or sidewalk, but this can be easily removed with soap and water once the temperature eases up. This method also works well to clear ice from bird feeders.
What You Need
- Beet juice (You can make your own by blending up a bunch of beetroots in a blender.)
- Salt brine (just a solution of water and salt)
- A spray bottle
Steps
- Blend beets to make beet juice.
- Combine your beet juice and salt brine.
Use a ratio of 2 parts beet juice to 8 parts salt brine and pour it into a spray bottle.
- Spray the solution onto the area you wish to de-ice.

Epsom Salt & Sugar Ice Melt

Are you looking for something as effective as salt ice melt, but without the potential risk to your plants, sidewalks, cars and driveways? This Epsom salt and sugar ice melt is perfect for you.
Epsom salt can melt ice on its own, but it won’t be able to do it very fast.
The chemical structure of Epsom salt is magnesium sulfate heptahydrate, so each Epsom salt crystal has seven water molecules bonded to it. Due to its chemical structure, Epsom salt needs to connect with the water molecules in the ice and the high number of water molecules results in a slower reaction.
The addition of sugar to Epsom salt increases its melting power, thus melting the ice faster than if it were used on its own. This ice melt is often the preferred choice because it’s safe to use on pretty much any surface.
What You Need
- Epsom salt
- Sugar
- Hot water
Steps
- Fill a bucket with hot water.
- Mix Epsom salt and sugar.

Pour in your Epsom salt and sugar in a 1:1 ratio.
- Mix until dissolved.
- Pour the solution over the area of ice you wish to melt.

If you’re making a small batch, you can sprinkle some of this mixture over the snow-covered surface you wish to target to speed up the melting process. If you’re making a big batch, you can pour over the whole lot and the ice will melt away instantly.
Soda
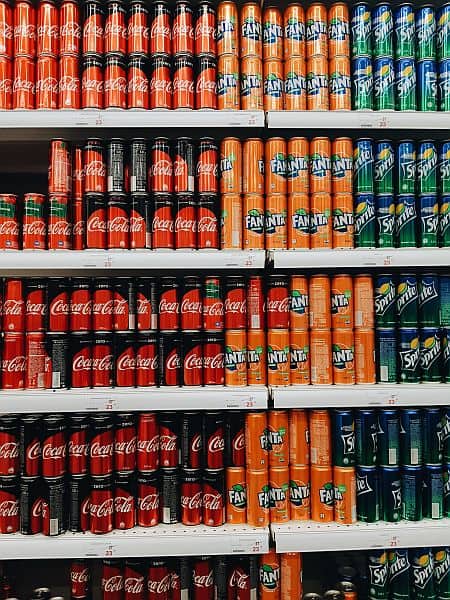
Yes, even soda works well as an ice melt! The secret is the sugar in soda. Sugar is great at speeding up the melting process, so basically any drink with a high sugar content would also work well as an ice melt. This ice melt is best for moderate temperatures and wouldn’t work well in extreme cold conditions.
This method wouldn’t rank on par with others such as salt ice melt when it comes to effectiveness, but it’s a great option for a last-minute plan if you don’t have the ingredients for another method. It also shouldn’t be used as an ice melt regularly or on cars, as the artificial dyes could prove to be quite messy.
What You Need
- A bottle of soda (any kind besides diet or sugar-free)
Steps
- Pour the soda over the ice-covered area you wish to target.
- Rinse the surface with water.

This will ensure to get the soda off.
Water & Vinegar Ice Melt
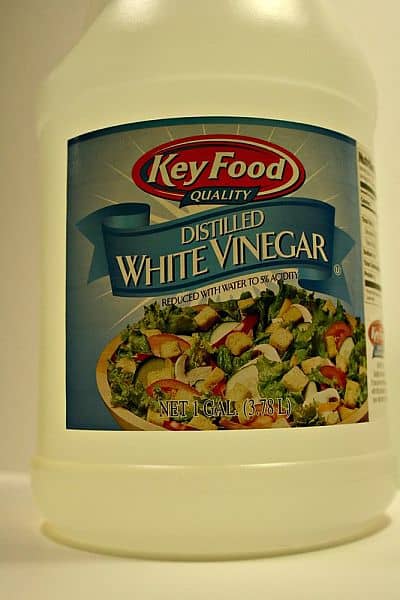
This method is best for use on cars because it’s gentle, yet very effective.
What You Need
- Vinegar
- Water
- A spray bottle
Steps
- Fill a container with water.
- Pour in the vinegar.
Image credit: flickr.com Mix1 part water to 3 parts vinegar.
- Mix thoroughly.
- Transfer to a spray bottle.
- Spray the solution onto the area you wish to de-ice.

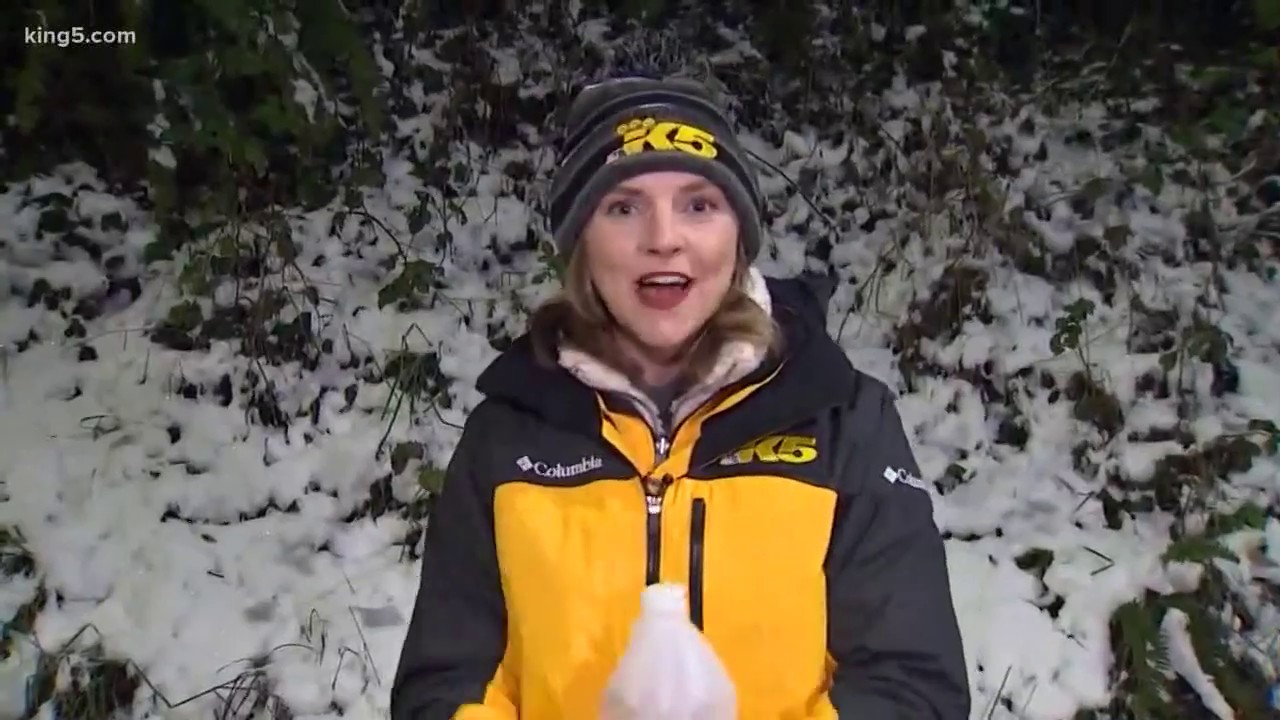
Check out this video on the King 5 YouTube channel for a great visual on how to make ice melt using vinegar:
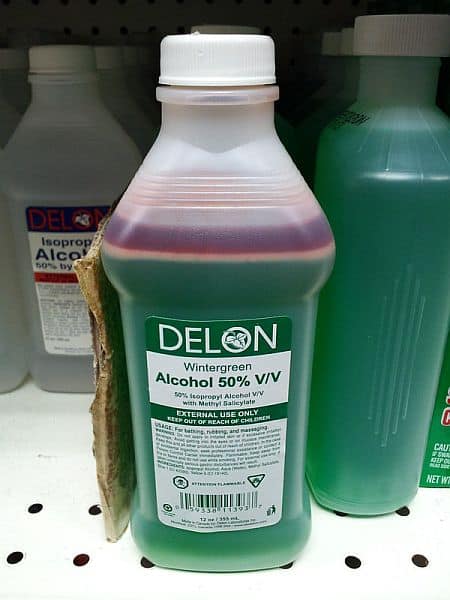
Isopropyl Alcohol Ice Melt
Looking for an easy fix to clear your car’s windshield after a snowy night? Look no further! Isopropyl alcohol ice melt works so well because it has a freezing point of -20 degrees Fahrenheit, which is much lower than water. It’s safe for many surfaces will do no harm to your cars or driveways.
What You Need
- A cup of water
- A cup of isopropyl alcohol (rubbing alcohol)
- A spray bottle
Step By Step Instructions
- Mix water and isopropyl alcohol.
Mix one cup of water and one cup of the alcohol.
- Shake well.
Ensure it’s mixed thoroughly.
- Spray it onto icy patches.
For example, spray it on your car’s windshield and rear view mirrors.

FAQs
What home remedy will melt ice?
There are many home remedies to melt ice, however, the most popular method is to mix a half-gallon of hot water, six drops of dish soap, and ¼ cup of rubbing alcohol together. Pour this over the ice-covered surface and it will melt away instantly.
Does vinegar melt ice?
Vinegar does melt ice. Mix a solution of vinegar and water, with a higher ratio of vinegar, and pour over the ice to melt it.
Does baking soda melt ice?
Baking soda will melt ice. Using baking soda on an ice-covered surface will result in it melting faster, as it will speed up the melting process.
Does rubbing alcohol melt ice?
Rubbing alcohol does melt ice. Rubbing alcohol works similarly to salt and will speed up the melting process. The freezing point of rubbing alcohol is much lower than water.
Are You Ready To DIY Your Own Homemade Ice Melt?
Ice melt is one of those items that aren’t easy to remember when you’re in the middle of a store, so I don’t blame you if you run out of it and find yourself in a pinch.
But just remember, if you happen to get yourself caught in a blizzard without ice melt, DIY ice melt made using one of these super easy methods is a great option.
What did you think about my list of 9 homemade ice melt ideas? I’d love to know if they were helpful. Please feel free to leave a comment down below!