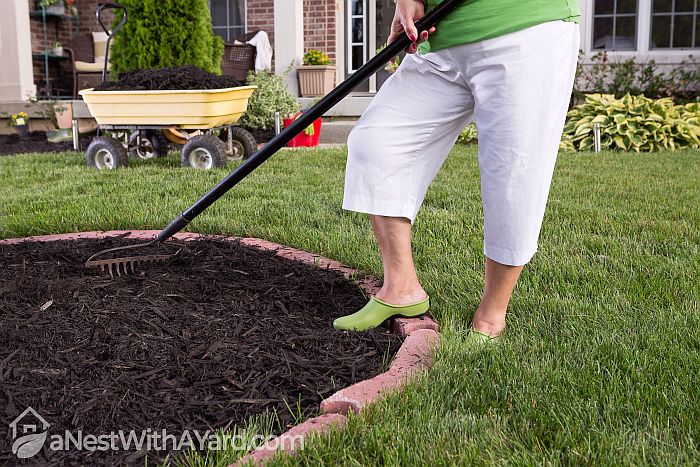
To make a mulch bed in your garden, you will need to remove any weeds, trim nearby plants, rake the soil, and then cultivate it. After creating edging, you can start laying down the mulch. You should spread it evenly and hose it down to help it settle.
Are you looking for ways to improve your soil quality and help your plants grow? Mulching is a simple but effective technique that takes your garden to the next level and makes it look better.
That’s why I’ve put together this guide on how to make a mulch bed in all types of gardens. These step-by-step instructions walk you through the entire process and help you prepare your garden beds, choose your mulch, and lay it properly.
Contents
How To Make A Mulch Bed Over Grass
What You’ll Need
- Mulch
- A lawnmower
- Newspaper or cardboard
- A trowel
- A garden hose
- A rake
- Weedkiller (optional)
Steps
Here are the steps on how you can make a mulch bed over grass:
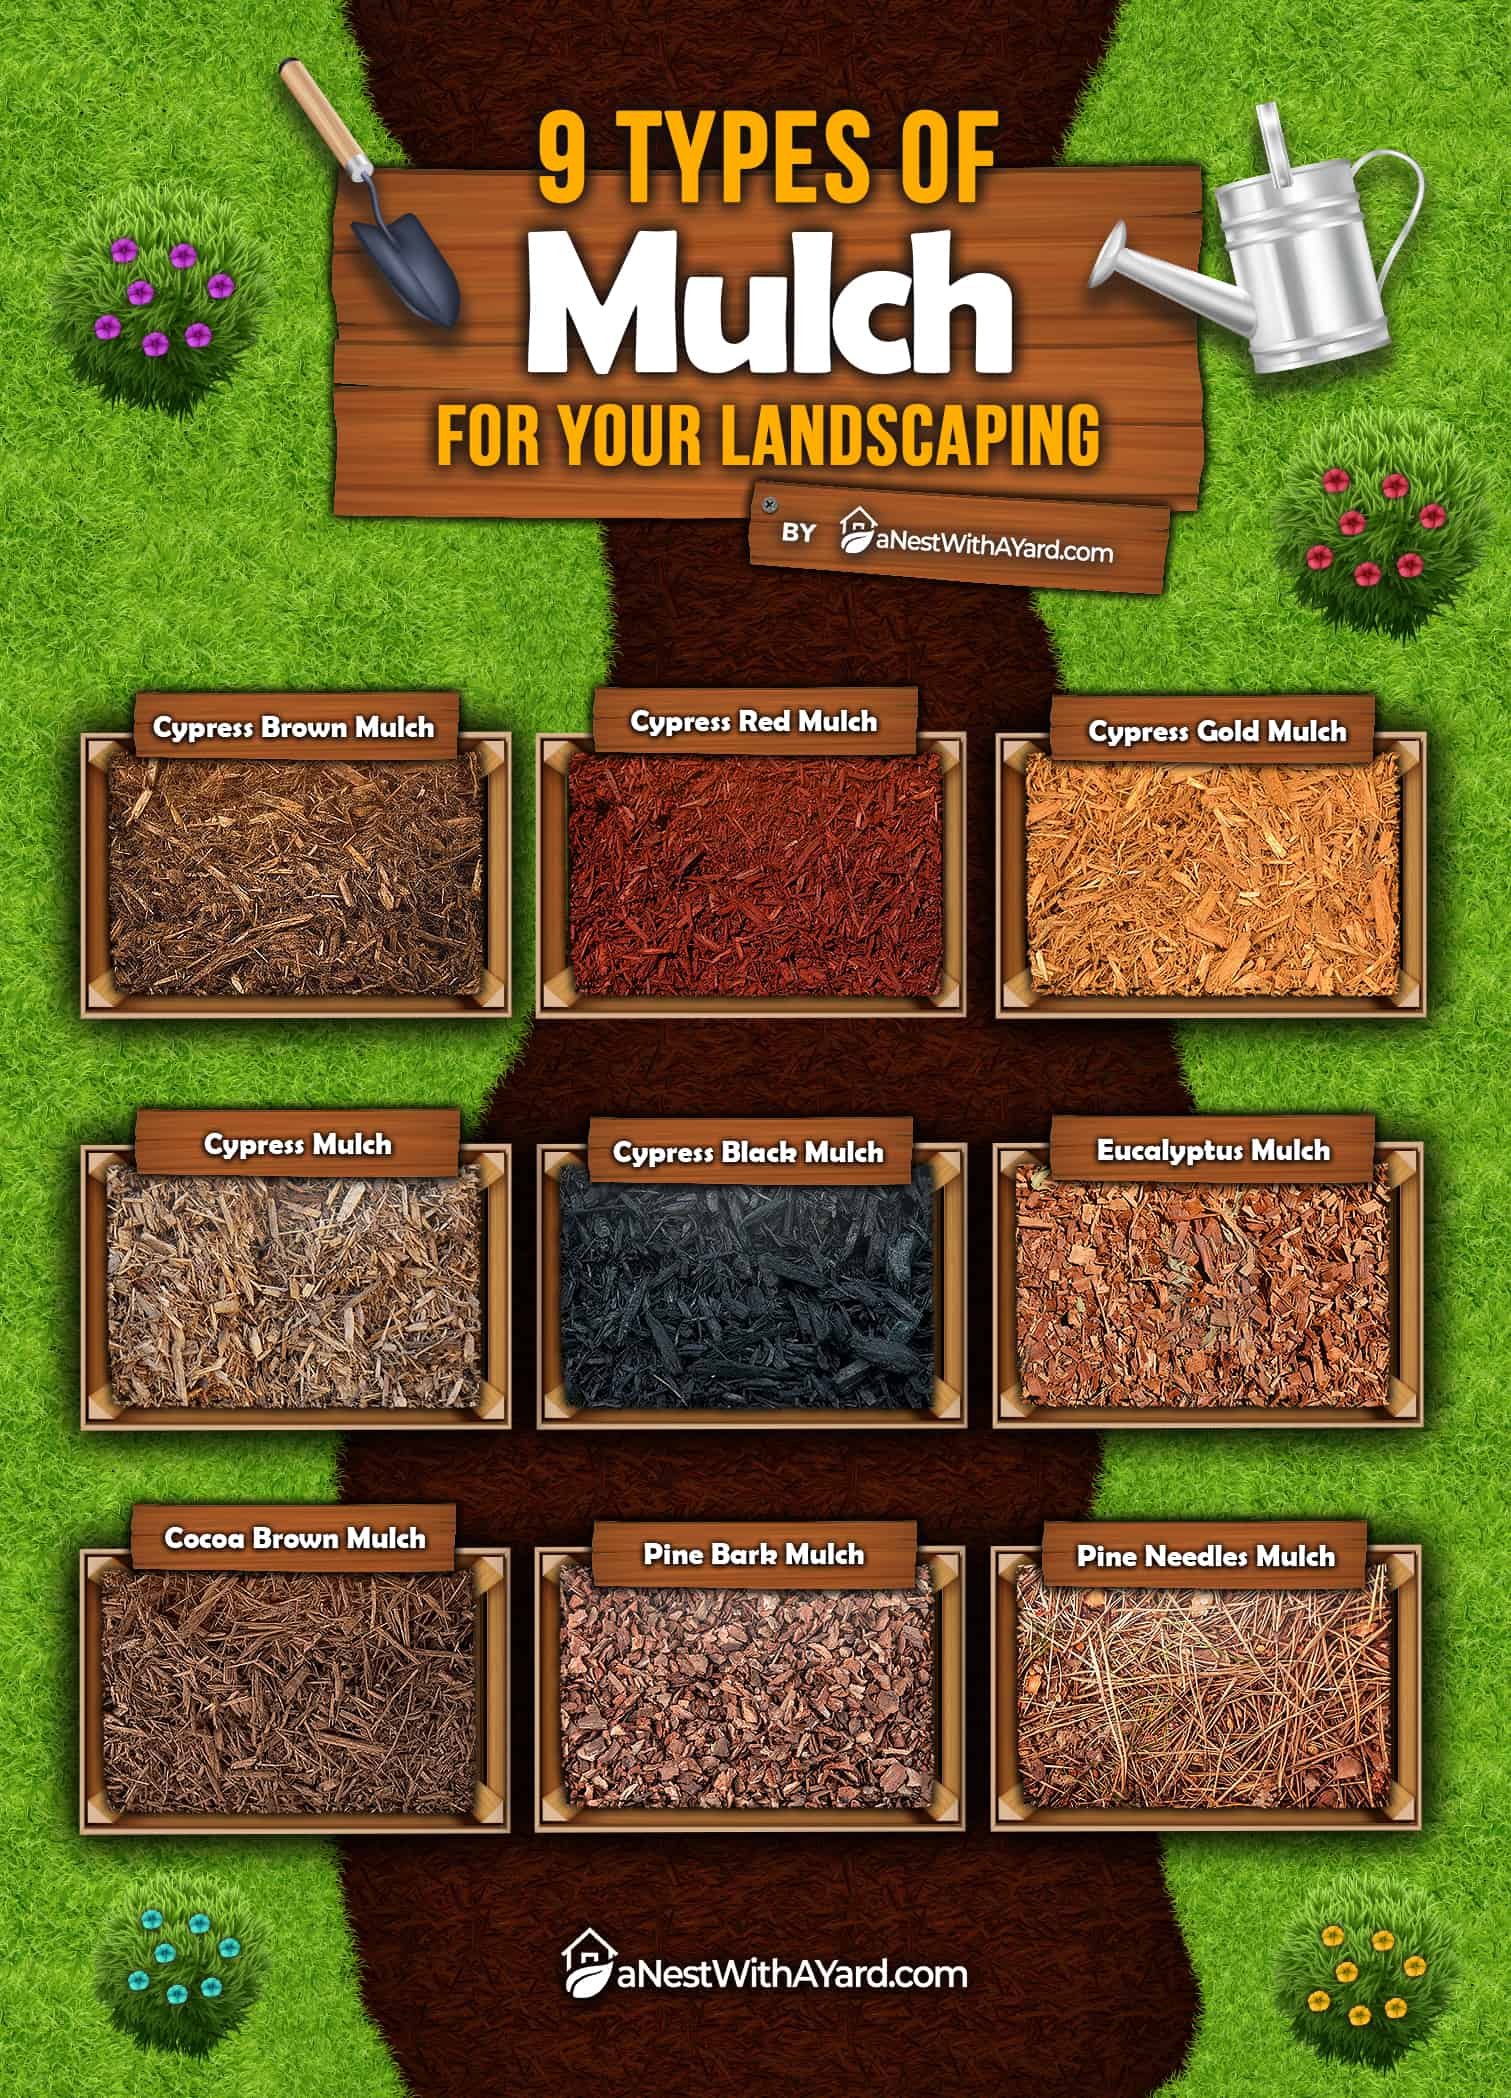
- Choose Your Mulch Type

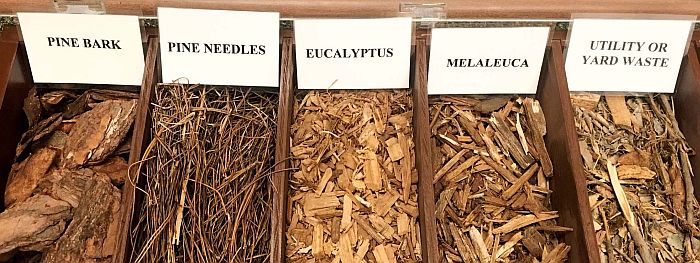
There are various types of mulch, so first, you will need to pick the variety that suits your gardening plans. There are both organic and inorganic types of mulch.
These are the most common forms of organic mulch:
– Wood chips
– Evergreen needles
– Grass
– Leaves
– Compost
They have the most benefits for your soil quality, but you will need to top up the mulch more frequently, and it can attract bugs.
These inorganic mulches are also very popular:
– Stones or rocks
– Lava rock
– Pulverized rubber
– Crusher dust
They do not decompose, and they can trap heat and help the soil warm up. You also do not have to top up the mulch very often, but they have fewer benefits for the soil quality. - Choose Your Mulching Time
As a general rule, you should add mulch in late winter or early spring. However, there are various factors to consider, including your climate, the prevalence of weeds, and the plants you grow.
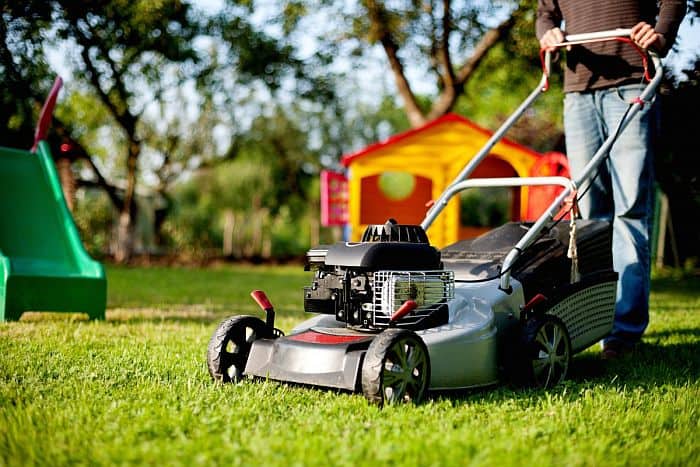
You should check out my complete guide to the best time to mulch. - Mow Your Lawn

This step is essential because it allows the newspaper or cardboard base to sit more easily on top. If you have long grass, you should cut it down to 2 or 3 inches (5.1 or 7.6cm) in length.
Make sure that you mow the entire area you want to cover with mulch. Remember that the mulch will stunt and eventually kill your lawn over time, so choose carefully where you want to make your flower bed.
If you’re not confident about mowing your lawn, check out the first video below. - Remove Any Weeds

You can use a trowel to remove any weeds from their roots. You should not skip this step, or else they may grow up through your mulch and negatively affect your garden bed. If your weeds are particularly resistant, you may also like to apply a herbicide to kill them. - Apply The Newspaper
image credit: flickr.com
Grab some sheets of newspaper or plain cardboard. Traditionally, many people have warned against colored ink newspapers, but it is not inherently harmful to your plants and soil.
Lie the sheets down over the entire area that you will cover with mulch. You should layer them so that they are at least 10 sheets thick and completely overlapped.
Grab your hose and give the sheets a light soaking. This makes them heavier, preventing them from moving and allowing them to provide a stable base for your mulch. - Apply The Mulch
Create a thick layer of mulch over the top of your newspaper base. I recommend a minimum of 2 inches (5.1cm), but closer to 6 inches (15.2cm) can be more effective for killing the grass beneath.
When putting the mulch on top, make sure that the newspaper doesn’t shift and move. You can then use your rake to move the mulch around and gently create an even layer. Lastly, grab your hose and soak the surface to fix it all in place.
If you need help applying the mulch properly, see the video demonstration below.


How To Mow Your Lawn Video Tutorial
Check this video guide by Bunnings Warehouse if you are not sure how to mow your lawn:
Video Guide On How To Apply Mulch Properly
Here is a quick video guide on how to properly apply mulch:

How To Make A Mulch Bed Around A Tree

What You’ll Need
- A shovel
- Organic mulch
- Pruners
- Landscaping stones
- A rake
- A garden hose
Steps
Check out this step-by-step guide on making a mulch bed around a tree:
- Clean Around The Tree Base

If you’ve had your tree for a while, it probably has many things built up around its base. For example, it may have rocks, stones, excess dirt, or old mulch piled up. This can be harmful to the tree because it starves it of oxygen. ‘
Grab your shovel, remove any buildup, and throw it away.
- Remove Any Upward Roots
If any roots are poking upwards through the soil, they can pose a risk in the long term. They may start to wind around and grow around the tree trunk, stealing its oxygen.
Therefore, you need to use your pruners to trim any roots that are visible through the soil. You may need to repeat this step as more time passes.
- Remove Weeds And Grass

Pick up your shovel again and use it to remove all weeds and grass. Make sure that you dig far enough into the soil to remove the roots entirely.
You may also want to apply herbicide. However, make sure you pick a variety that doesn’t harm trees. You should also avoid using it directly on your tree or surrounding flowers. Otherwise, you may kill your other plants by accident.

- Create A Barrier

Especially if you live in a wet climate, it is essential to create a barrier around the mulching spot. This prevents rain and wind from dislocating or washing away your hard work. If you do it properly, it can also make the space look more attractive and interesting.
You could make a barrier with a high mulch pile, but I prefer to use landscaping rocks. You can place them around the entire body and even alternate colors if you want to create an interesting aesthetic.
- Lay Down The Mulch

Grab your organic mulch and spread it around the base of the tree. However, make sure that you leave a 1-2 inch (2.5-5.1cm) gap between the tree base and the mulch. They should not directly touch.
Aim for a layer that is 2-4 inches (5.1-10.2cm) deep. It should also have an even spread across the surface area, so I recommend using a rake to shift it around. Once you finish that, grab your garden hose and soak the area.
How To Make A Mulch Bed Over Dirt
What You’ll Need
- Mulch
- A rake
- A garden hose
- A shovel
- A measuring tape
Steps
Try out these steps if you need to make a mulch bed over dirt:
- Choose Your Mulch And Calculate Your Quantity
First, you need to decide if you want to use organic or inorganic mulch. Organic can be an excellent option if you want to improve your soil and help your plants grow better.
However, if you just want to cover the mud or dirt, inorganic mulches can be attractive alternatives.
You can then figure out how much mulch you need by calculating the square footage of your space. Grab your tape measure and multiply the width by the length. As a general rule, a 2 cubic foot bag of mulch can cover an area of 12 square feet.
- Clear And Water The Area
Use your shovel to remove all debris from your dirt area. Make sure to get rid of excess soil, rocks, leaves, and any old mulch that you might have.
You should also dig out any weeds and throw them out. Ensure that you get the roots, or else they may grow back quickly.
Lastly, grab your hose and water the entire area before you do anything else. Doing this allows the soil to retain moisture, which the mulch will also help seal in.
- Create A Boundary

If your dirt area is next to grass or other defined spaces, you should create a clear boundary between the two zones. This can be as simple as using the edge of your shovel to cut a line in the ground or you can create a barrier with stones.
- Spread Your Mulch

Use your shovel to spread the mulch around your defined area. You can also rake it gently to apply it in an even layer. You should aim for the mulch to be 2-4 inches (5.1-10.2cm) deep across the entire space.
Lastly, grab your hose again and water down the freshly laid mulch. This final step secures it in place and prevents it from moving. The video below has a few extra handy tips.
FAQs
What Do You Put Under Mulch?
You should put organic or degradable materials under mulch that can break down and absorb into the soil. For example, cardboard and newspaper are popular options that decompose and prevent weeds from growing under the mulch.
How Wide Should A Mulch Bed Be?
Mulch beds should be between 36 and 72 inches (91.4 and 182.9cm) wide, depending on how much space you have. When putting your mulch in the bed, make sure that it covers the entire surface area and is a couple of inches deep.
Can You Lay New Mulch Over Old Mulch?
You can lay new mulch over old mulch, but you should prep it first. You may like to fluff the mulch before adding a new layer, allowing it to hold onto water and decompose more effectively. You should also not exceed a total of 2-3 inches of mulch.
Should You Put Anything Under Mulch?
You should not put anything under mulch unless it can decompose. For example, newspapers and cardboard are suitable options because they break down. However, using weed matting or other plastic materials can interfere with decomposition and defeat the purpose of mulching.
Do You Put Soil Down Before Mulch?
You can put soil down before adding mulch, but it isn’t necessary. You can put it on top of newspaper, cardboard, or even directly on grass. For existing soil, make sure that you remove any weeds before adding the mulch. Otherwise, they can continue growing underneath this layer.
How To Make A Mulch Bed For Your Garden
In conclusion, mulching your garden is a simple but excellent way to increase your soil quality, protect against weeds, and help your plants grow better. It may seem intimidating at first, but by just following a few short steps, you can learn how to make a mulch bed for your specific garden.
Did you enjoy this article? Do you have any other tips for mulching and mulch beds? Please let me know about your experience and questions in the comments section. Also, please share the article if you found it helpful!