How to grow hebes in containers: Choose a pot with drainage holes and fill it with well-draining potting mix. Plant a hebe in the pot. Place the pot in a location with full or partial sun. Keep the soil moist. Prune your hebe regularly in late summer.
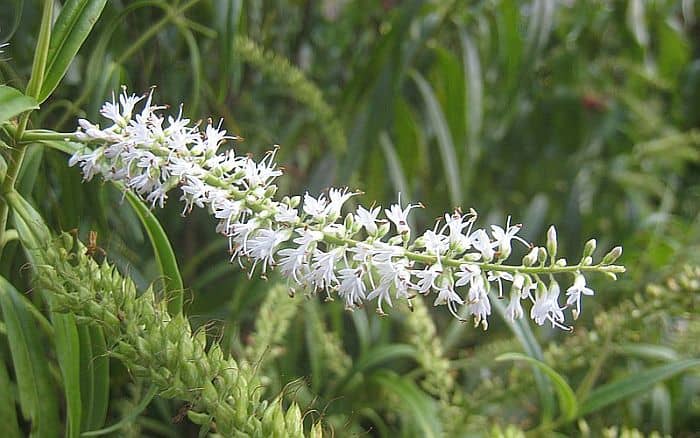
Looking for a beautiful and low-maintenance plant for your flower garden? If so, you might love hebes. Some have beautiful blooms, whereas others are grown for their striking foliage.
These evergreen shrubs have low nutrient requirements, require little pruning, and are resistant to pests and diseases.
Growing hebes in pots isn’t that different from growing them in the ground. In this guide, I’ll go over a few basics of hebe plant care so you can grow these gorgeous plants in containers.
Contents
- 1 11 Tips For Growing Hebes In Pots
- 2 FAQs
- 3 That’s How To Grow Hebes In Pots
- 4 About The Author
11 Tips For Growing Hebes In Pots
Choose A Suitable Variety
When choosing a hebe for a container, size isn’t all that matters. If you’ll be growing your hebe outdoors, it’s important to choose one suitable for your local climate.
In general, smaller-leaved varieties tend to be more cold-hardy, whereas varieties with more impressive flowers tend to be more tender. However, you should check the specifications of a specific plant before buying it.
The best hebes to grow in pots are small or compact varieties such as:
- Hebe “Caledonia” AGM
This variety has small, glossy, dark green leaves with red edges. Young leaves look reddish. This hebe produces purple flowers from late spring to early fall. It grows to about 24 inches (60 centimeters) tall and wide.
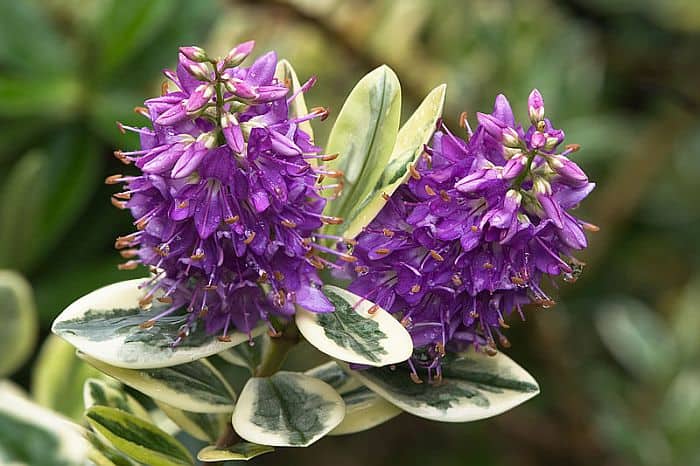
- Hebe “Heartbreaker”
This hebe features green leaves with cream edges. The leaves turn pink in cold weather. In summer, expect purple flowers. It grows to the same size as Hebe “Caledonia” AGM.
- Hebe “Red Edge” AGM
This hebe has gray-green leaves edged in red. In summer, it produces short spikes of purple and white flowers. It grows to about 20 to 39 inches (50 to 100 centimeters) tall and wide.
- Hebe “Pascal” AGM
The green leaves of this particularly hardy variety turn burgundy in colder months. This hebe produces lavender-blue flowers in early summer and grows to about 20 inches (50 centimeters) tall and wide.
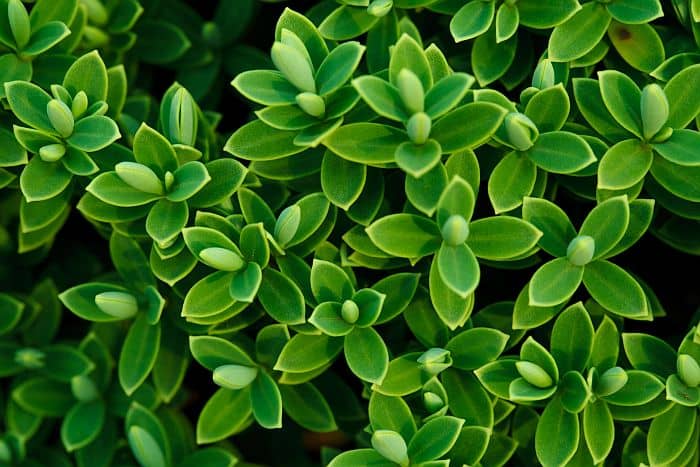
- Hebe “Emerald Green” or “Green Globe” AGM
This small-leaved, dome-shaped variety is primarily grown for its bright green foliage. It grows to about 12 inches (30 centimeters) tall and wide.
- Hebe “Nicola’s Blush”
This hebe produces pink and white flowers in summer and its green, red-edged leaves develop purple tints in winter. It reaches about 24 inches (60 centimeters) tall and wide.
- Hebe Pewter Dome
Though this tightly dome-shaped variety produces white flower spikes in summer, it’s primarily grown for its gray-green foliage. It grows to about 60 centimeters (24 inches) tall and wide.
Grow Your Own Hebes From Cuttings
Want free hebes? You can easily root some from softwood cuttings, which are best taken in summer. Rooting cuttings is also a good way to replace hebes, as they tend to only last five to 10 years. Just don’t root cuttings from patented plants.
You’ll Need:
- A seedling tray
- Compost
- A hand trowel
- Secateurs
- A fork
- A pencil
- A mature hebe plant
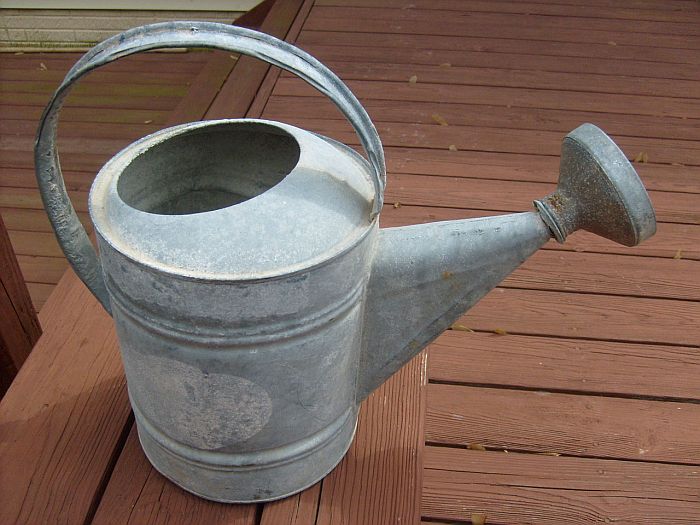
- A watering can
- Pots
- Potting mix
- Compost
Steps
Here are the steps on how you can grow your own hebes from cuttings:
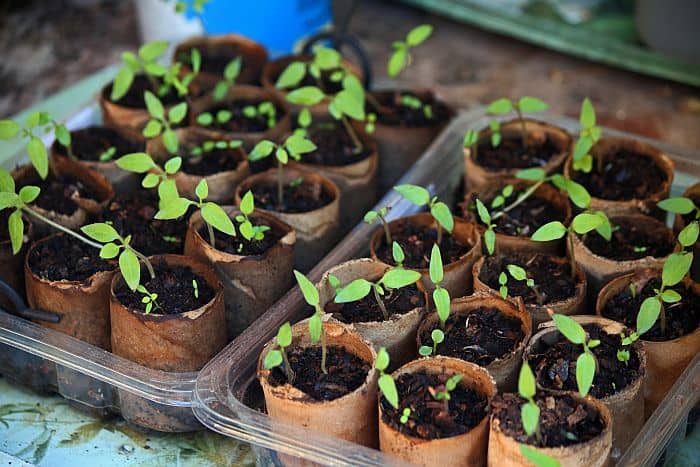
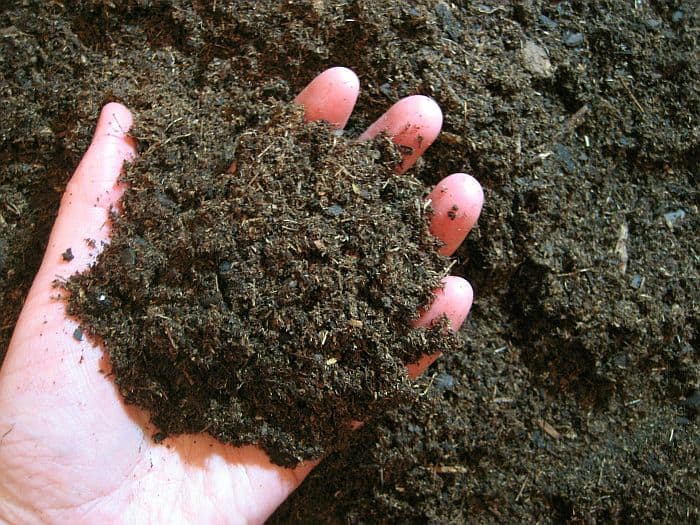
- Fill A Tray

image credit: publicdomainpictures.net
Using a hand trowel, fill a seedling tray with compost. - Choose Healthy Shoots
On a mature hebe plant, find shoots that are thick and compact. Remove them with secateurs. - Shorten The Cuttings
Starting from the bottom of each cutting, cut it so that it’s 3-4 inches (8-10 centimeters) long. - Remove Lower Leaves
image credit: publicdomainpictures.net
Remove each cutting’s lower leaves, leaving three sets of upper leaves. - Pinch The Tip And Trim The Base
Pinch off each cutting’s upper tip and cut the base just below the lowest leaf node. - Make A Hole For The Cutting
Use a pencil to make a hole in the compost for each cutting. - Add The Cuttings
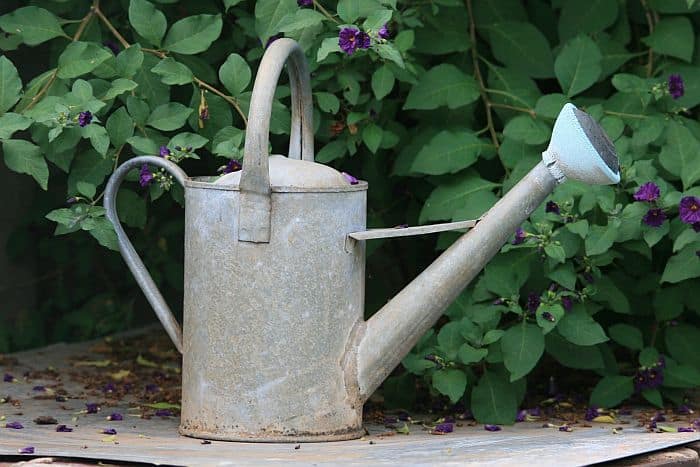
Stick a cutting in each hole and firm the compost around it. - Add Water

image credit: publicdomainpictures.net
Thoroughly water the compost. - Find A Good Window
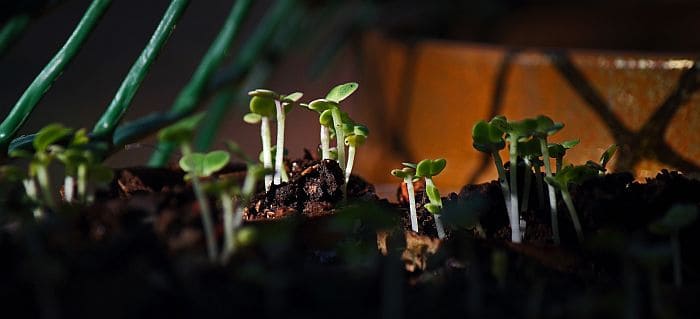
Find a sunny window and leave the cuttings there for three to four weeks. Keep the compost moist, but not soggy. - Check Each Cutting

image credit: publicdomainpictures.net
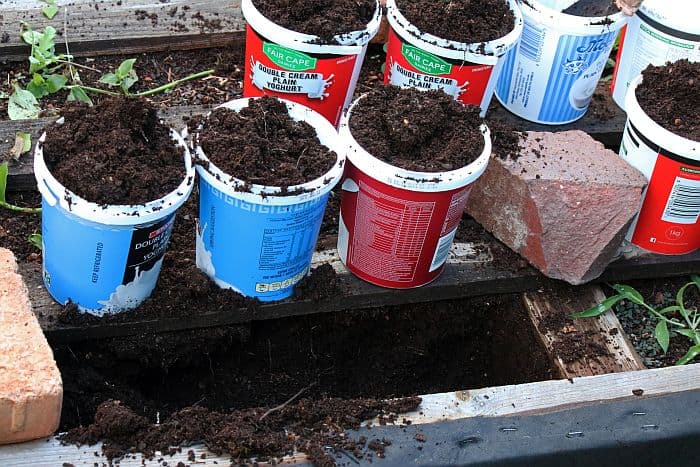
After three to four weeks, give each cutting a very gentle tug. If you feel resistance, it’s probably grown roots. If you don’t, check it again after another week. - Fill Some Pots With Potting Mix
image credit: publicdomainpictures.net
Using a hand trowel, fill some pots (which should have drainage holes) with a well-draining potting mix. - Transfer The Cuttings To Pots
Use a fork (that’s what I use) to gently scoop out each plant and the compost it’s in. Hold it in your hand while you dig a small hole in a pot. Plant the new hebe and firm the soil around it. Water it until water seeps through the bottom of the pot. - Keep Them Safe
Keep the new plants safe from frost until spring.
.jpg)
Plant At The Right Time
Plant hebes during the spring and summer. Saga Magazine recommends April to early September, although the best months may vary by location.
Get A Good Pot
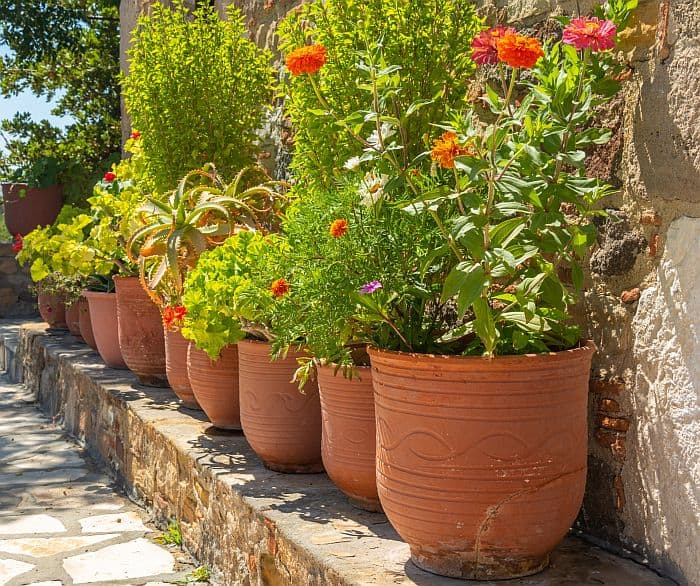
Make sure the pot you choose has drainage holes. If you’ll be reusing an old pot, be sure to first clean it thoroughly.
Use Good Potting Mix
Hebes do best in moist, but well-draining soil. They can thrive in nutritionally poor soil, as well as soil that’s slightly acidic or alkaline.
Find A Sunny Spot

Hebes do best in full sun, but can tolerate semi-shaded areas. If you notice your hebe not flowering, it may not be getting enough light.
Water Regularly
Portland Nursery recommends watering hebes regularly, even in winter, as they aren’t very drought tolerant. GardenFocused.co.uk says to keep the compost (I take this to mean any growing medium) “moist but not waterlogged.”
Fertilize Infrequently
Because hebes thrive in poor soil, they require little fertilizer. Fertilize yours once a year, either in late winter or early spring. Excessive fertilizing will make their leaves “too lush and floppy,” according to Saga Magazine.
Prune Properly
According to Saga Magazine, many hebes tend to become leggy (grow excessively long stems), which reduces their vigor and doesn’t look good. They recommend regular, late-summer pruning to keep plants bushy and extend their lifespans. Well-pruned plants produce strong new shoots.
If a hebe plant is overgrown, Hebe Society says not to cut all of its growths at once. Remove a few here and there over the course of several months, cutting them off near buds. They recommend lightly trimming hebes right after they flower to prevent seed formation, shape the plants, or thicken them.
To extend your plant’s flowering period, pinch or cut off any flowers that begin to shrivel up.
Remove frost-damaged shoots in spring, after the plant’s buds start growing. Cut them down to buds so that no unhealthy tissue is left.
Protect During Winter
As Helen explains in this video, you should place hebes in sheltered locations to protect them from cold winter wind:

(Although she says hebes don’t need much pruning, pruning advice varies among sources).
If there will be frost, wrap your hebes with protective blankets. Magnoliaflorist.co.uk also recommends trimming your hebes all over in early winter to keep them strong.
Beware Of These Diseases:
Leaf Spot
If you notice small brown spots on the leaves of your hebe, it may have leaf spot. This disease can reduce your plants’ vigor and make them grow leggy. According to GardenFocused.co.uk, you’re most likely to notice leaf spot from October to February. However, this may vary by location.
While GardenFocused.co.uk focuses on Septoria leaf spot, a fungal disease, Learning with Experts says that leaf spot can also be caused by bacteria or growing conditions. They don’t say whether these types of leaf spot affect hebes.
Damp winter temperatures and poor air circulation are major risk factors for leaf spot. Small-leaved hebes may be more resistant to this condition than large-leaved varieties.
If your hebe develops leaf spot, GardenFocused.co.uk recommends applying a general-purpose fungicide two or three times every two weeks until it’s gone. Of course, this will only work if the leaf spot is fungal.
Downy Mildew
If you see irregular brown spots on your hebe’s leaves and light gray growth on the undersides of its leaves, these are signs of downy mildew. Lower leaves tend to be more affected.
Downy mildew tends to develop with damp conditions, poor air circulation and cold soil. Moving your plant to a sunnier location may help. Downy mildew can eventually kill your plant.
It’s easier to prevent downy mildew than it is to treat it. One thing you can do is water your plants from below, keeping their leaves dry. Also, remove dead plant material from your plants’ pots.
Fungicide doesn’t work against downy mildew, as the disease isn’t fungal. Following the above tips, decreasing humidity, and pruning to improve air circulation may help. Warm outdoor temperatures may also kill downy mildew.
Root Rot
If your hebe has stopped growing and entire stems turn brown and die, it may have root rot. A more obvious sign, if you dig them up, are rotten roots. The causes of this condition are typically Fusarium, Phytophthora Pythium, or Rhizoctonia fungi. GardenFocused.co.uk names “[p]oor soil conditions, bad drainage or cold” as major risk factors.
You can prevent root rot by only watering your plants when the soil is dry.
While you can use a fungicide to fight root rot, first make sure you know which fungus you’re dealing with. You can contact your local agricultural extension service for assistance identifying the fungi and choosing a course of action.
However, GardenFocused.co.uk says that most affected plants should probably be destroyed.
FAQs
Can Hebes Be Grown In Pots?
Small hebe varieties can be grown in pots and containers. Examples include Hebe “Caledonia” AGM, Hebe “Heartbreaker,” and Hebe “Red Edge” AGM.
Do Hebes Like Sun Or Shade?
Hebes grow best in full sun or partial sun. Without adequate light, they grow excessively long stems and may not flower.
How Long Do Hebes Take To Grow?
Hebes live for about 5 to 10 years. How long they take to grow may vary depending on environmental factors and the plants, themselves.
Should You Cut Back Hebes?
You should cut back hebes. You can keep your hebe bushy by pruning it regularly in late summer. Hebe Society recommends lightly trimming your hebe after it flowers.
Are Hebes Fast Growing?
According to several plant pages for container-friendly hebes on the RHS website, the hebes take 5-10 years to reach their ultimate heights. Growing speed may vary depending on your hebes and their growing conditions.
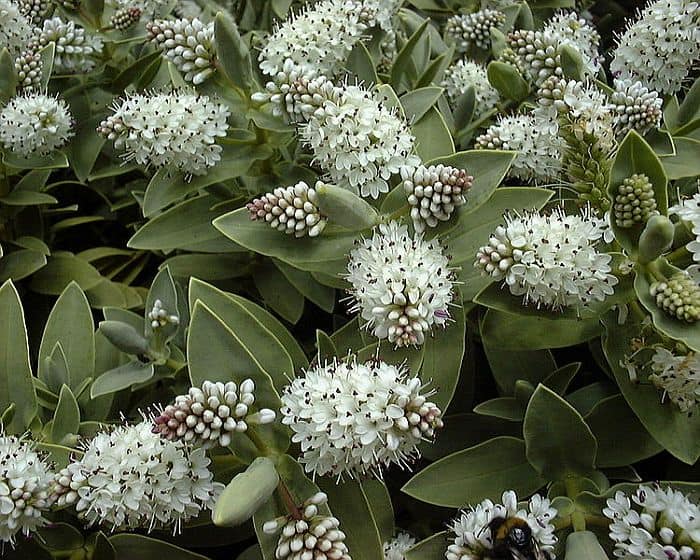
Are Hebes Good For Bees?
Hebes are good for bees as they attract and provide food for bumblebees and honeybees. If you plant hebes with different flowering times, you’ll feed visiting bees for a longer period of time.
Are Hebes Hardy?
Smaller-leaved hebe varieties tend to be more cold-hardy, whereas varieties with showier flowers tend to be less so. However, you should check the hardiness for any variety you consider buying.
That’s How To Grow Hebes In Pots
Growing hebes in pots is easy. As a quick recap, here’s how:
- Use a clean pot with drainage holes.
- Fill it with a well-draining potting mix.
- Choose a small hebe variety.
- Place your hebe in a location with full sun or semi-shade.
- Keep the soil moist, but not soggy.
- Prune plants regularly in late summer.
- Fertilize only once a year.
- Watch out for diseases such as leaf spot, downy mildew, and root rot.
I hope you enjoyed this tutorial. If you have any questions, please add them in the comments.